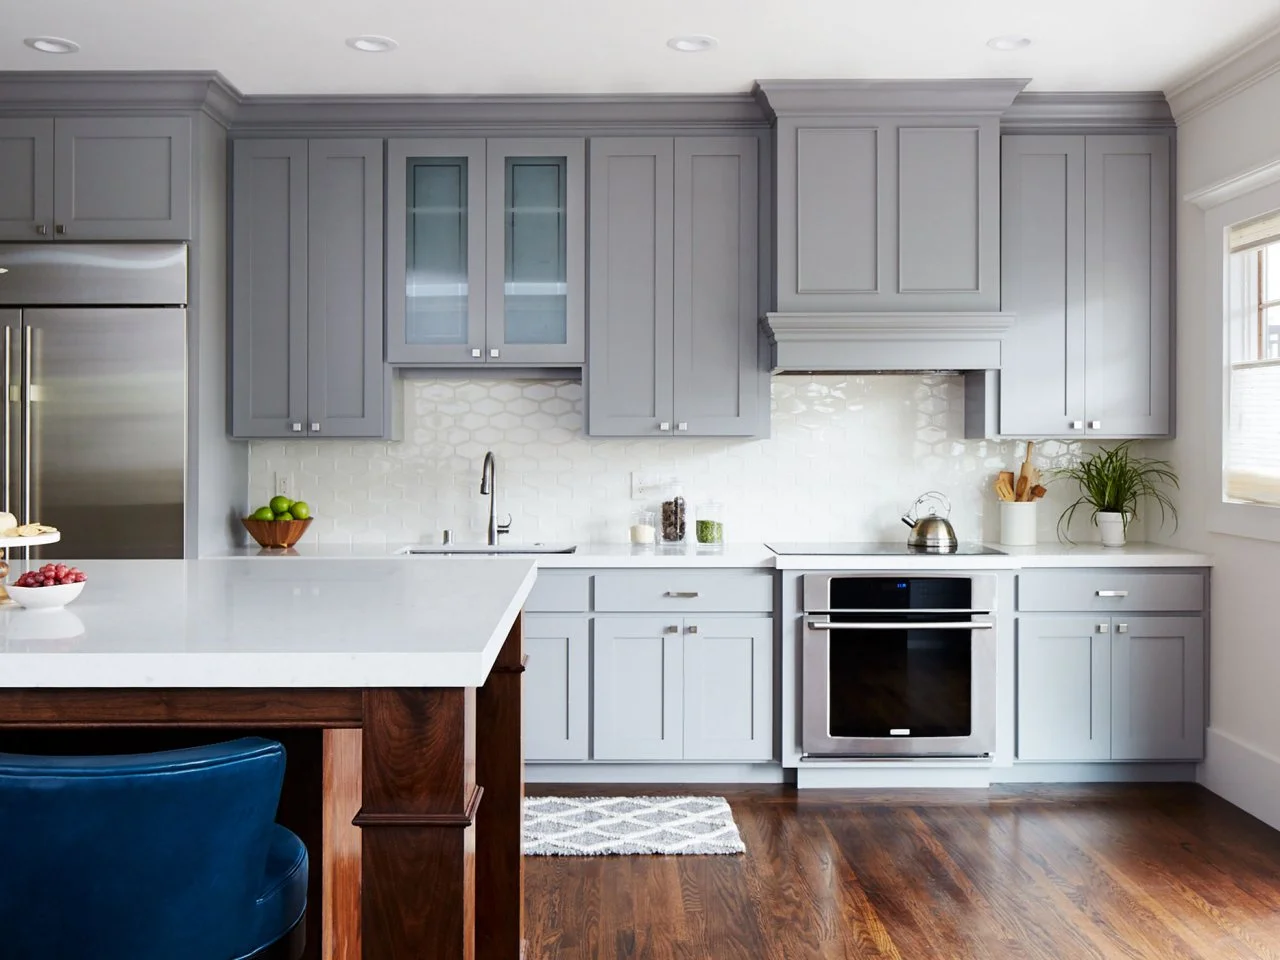
Repainting kitchen cabinets is one of the most cost-effective DIY upgrades you can make — transforming your kitchen’s look for as little as $50–$150, without the cost or disruption of a full renovation. If your cabinets are structurally sound but look dated, a fresh coat of cabinet paint can completely modernize the space.
Whether you are a first-time DIYer or a seasoned home improver, this guide walks you through every step — from surface prep to the final coat — so you achieve a smooth, professional result. You will also find common mistakes to avoid, a no-sanding alternative, maintenance tips, and honest cost breakdowns.
Why Repainting Kitchen Cabinets Is a Smart Choice?
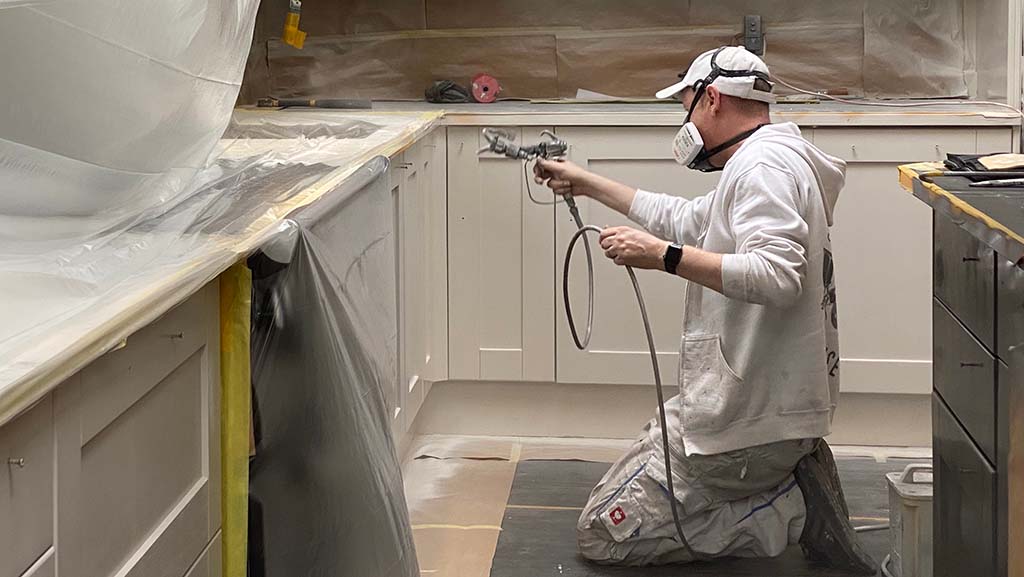
Repainting kitchen cabinets delivers a dramatic transformation at a fraction of a full remodel’s cost. Here is exactly why it is one of the smartest home improvement decisions you can make:
- Budget-Friendly Upgrade: Materials typically cost $50–$150, compared to $5,000–$15,000 for full cabinet replacement — a saving of up to 80%.
- Dramatic Visual Transformation: A fresh coat of paint turns outdated cabinets into a modern focal point without touching the kitchen layout.
- Quick Turnaround: The entire process takes just 2–4 days including drying time — far less disruptive than a renovation that can take weeks.
- Total Design Freedom: Choose from hundreds of colours, finishes (matte, satin, semi-gloss), and paint types to match your exact style.
- Eco-Friendly: Reusing existing cabinet boxes reduces landfill waste and lowers demand for new raw materials.
- Boosts Home Value: A freshly updated kitchen increases buyer appeal and can improve your home’s resale value without a major investment.
Tools and Materials You Will Need
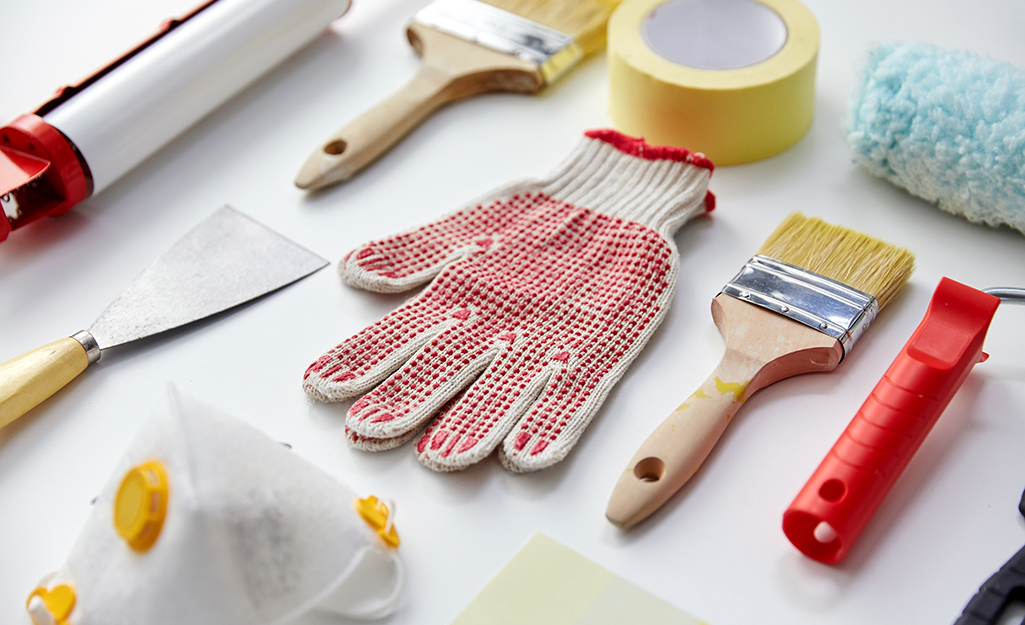
Gathering the right tools before you begin saves time, prevents mistakes, and is the single biggest factor in achieving a smooth, professional-looking finish. Here is exactly what you need:
Essential Tools
- Screwdriver: For removing cabinet doors, drawers, handles, and hinges cleanly before painting.
- Sandpaper (100–220 grit): Use 100–150 grit for the initial scuff-sand and 180–220 grit for smoothing between coats. Always sand with the wood grain.
- Paintbrush & Roller: Use a 2-inch angled brush for edges and recessed areas; a 4-inch foam roller for flat door surfaces to minimize texture.
- Tack Cloth: For removing fine sanding dust after each sanding pass — more effective than a dry cloth alone.
- Drop Cloths: To protect countertops, floors, and appliances during painting.
Materials
- Degreaser: Removes built-up kitchen grease and grime so paint bonds properly. Recommended: Krud Kutter or TSP substitute.
- Primer: Creates a strong base layer. Use a bonding primer for wood cabinets; use a shellac-based primer (e.g., Zinsser BIN) for laminate or MDF surfaces.
- Cabinet Paint: Use water-based alkyd or acrylic enamel for durability and a hard finish. Top brands: Benjamin Moore Advance, Sherwin-Williams Emerald Urethane, Rust-Oleum Cabinet Transformations.
- Wood Filler: For repairing dents, cracks, or surface imperfections before priming.
- Painter’s Tape: To protect walls, countertops, and hinges for clean, sharp paint edges.
Step-by-Step: How to Repaint Kitchen Cabinets
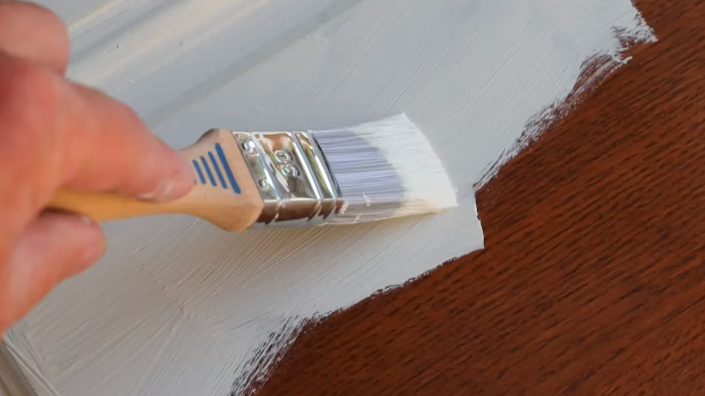
Following the correct sequence is essential for a finish that looks professional and lasts for years. Each step builds on the previous one — do not skip or rush any of them.
Set Up Your Workspace
Cover floors, countertops, and nearby appliances with drop cloths or plastic sheeting. Open windows or set up a fan for ventilation — paint fumes can be strong, especially in enclosed kitchens. Good ventilation also speeds up drying time.
Clean Cabinets with a Degreaser
Spray or wipe all cabinet surfaces with a degreaser such as Krud Kutter or a TSP substitute. Pay extra attention to the areas around handles and near the stove, where grease accumulates most. Rinse with clean water and allow to dry completely before moving on. Skipping this step is the number-one reason paint peels prematurely.
Remove Doors, Drawers & Hardware
Unscrew and remove all cabinet doors, drawer fronts, handles, and hinges. Label each piece with a sticky note or marker as you go — this makes reassembly much easier and prevents misalignment. Lay doors flat on a clean surface for painting.
Repair Surface Damage
Inspect all surfaces for dents, holes, or cracks. Apply a wood filler, let it cure fully, then sand smooth. Note: If your cabinets are laminate or MDF rather than solid wood, use a shellac-based primer (Zinsser BIN) for best adhesion — standard primers may not bond well to these materials.
Sand Surfaces for Adhesion
Lightly sand all cabinet surfaces using 120–150 grit sandpaper to remove the glossy factory finish and create a slightly rough surface for the primer to grip. Sand with the grain, not against it. After sanding, wipe down every surface with a tack cloth to remove all fine dust.
Apply Primer
Apply a thin, even coat of primer to all surfaces using a brush for edges and a foam roller for flat areas. Allow primer to dry fully — typically 1–2 hours for water-based primers, longer for oil-based. Check the manufacturer’s label for exact drying times.
Sand Again (After Primer)
Once the primer is completely dry, lightly sand again using fine 220-grit sandpaper. This removes any brush marks or raised grain, giving you a silky-smooth base for the topcoat. Wipe clean with a tack cloth after sanding.
Apply First Coat of Paint
Using your brush for edges and foam roller for flat surfaces, apply the first topcoat in thin, even strokes. Thin coats dry faster and level out more smoothly than thick coats. Avoid the temptation to over-brush — let the paint flow and self-level. Allow to dry for a minimum of 4 hours before recoating.
Apply Second (and Third) Coat
Apply a second coat once the first is fully dry. For most colours, two coats are sufficient. However, for lighter colours such as white or light grey painted over dark wood, a third coat is almost always necessary for full, even coverage. Always allow 4 hours minimum between coats.
Cure, Dry & Reassemble
After the final coat, allow doors and cabinet boxes to dry for at least 24 hours before reattaching hardware and rehinging doors. Use your labels to reassemble everything correctly. Important: While cabinets feel dry within hours, paint takes 2–4 weeks to fully cure and harden. Avoid heavy scrubbing or placing items against the surface during this curing period.
How to Repaint Cabinets Without Sanding
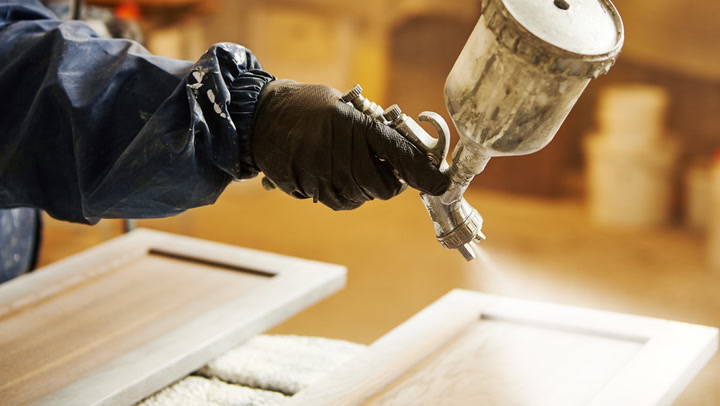
If you want to skip sanding, use a liquid deglosser — a chemical solution that dulls the existing glossy finish and prepares the surface for paint without abrasion.
Recommended products: Klean-Strip Easy Liquid Sander & Deglosser or Wilbond. Apply the deglosser with a clean cloth in circular motions, let it sit for 5 minutes per the product label, then wipe dry with a fresh cloth. Work in small sections so it does not dry unevenly.
Important limitations: This method works best on lightly worn cabinets that are in good condition. Liquid deglossers do not fill dents, cracks, or surface damage — if your cabinets have physical imperfections, sanding and wood filler remain necessary. Always follow with a high-quality bonding primer even when skipping sanding.
Common Mistakes to Avoid
Even small errors during cabinet repainting can result in peeling, uneven colour, or a finish that looks amateur. Avoid these common pitfalls:
Skipping the Degreaser
Kitchen cabinets accumulate invisible grease — especially near the stove. Paint applied over a greasy surface will not bond properly and will begin to peel within weeks. Always degrease thoroughly before any other step.
Skipping or Rushing Sanding
Without a scuff-sand, primer and paint cannot grip a glossy factory surface. This leads to poor adhesion and a finish that chips or wears off quickly — especially on high-touch areas like door edges and drawer fronts.
Using a Low-Quality Primer
A cheap primer — or skipping primer entirely — results in stains bleeding through, poor adhesion, and a finish that does not last. Invest in a high-quality bonding or stain-blocking primer; it is the single most important product in the entire process.
Painting Around Hardware
Painting over handles and hinges instead of removing them leads to messy paint bleed, poor edge coverage, and an unprofessional result. Always remove all hardware before painting — it takes 10 extra minutes and makes a significant difference.
Applying Thick Coats
Thick coats of paint drip, sag, and take much longer to dry. They also do not self-level well, leaving visible brush marks. Multiple thin coats always produce a smoother, more durable finish than one or two thick ones.
Maintenance Tips After Repainting

Proper care after repainting extends the life of your cabinet paint job significantly. Follow these habits to keep cabinets looking fresh for 5–10 years:
- Clean weekly with warm water, a drop of mild dish soap, and a soft microfiber cloth. Always wipe with the grain.
- Never use abrasive sponges, steel wool, or harsh chemical cleaners — these strip the paint and dull the finish.
- Avoid leaving water pooled near hinges, edges, or seams. Moisture is the leading cause of paint peeling on repainted cabinets.
- Do not place hot items directly against painted surfaces. Use trivets or pads to protect from heat damage.
- Touch up small chips or scratches promptly using the original paint colour to prevent the damage from spreading.
- During the first 2–4 weeks of curing, be extra gentle — freshly painted cabinets are more vulnerable to scratches and marks during this period.
Final Thoughts
Repainting kitchen cabinets is a simple yet powerful home improvement project that delivers a dramatic result at a fraction of renovation costs. By following the correct sequence — thorough cleaning, proper sanding, quality primer, thin topcoats, and patient curing — you can achieve a finish that rivals professional cabinet painters.
Avoid the common mistakes outlined in this guide, invest in quality materials, and give your paint time to cure properly. With a material budget of $50–$150 and a weekend of your time, you can give your kitchen a fresh, modern look that enhances both its style and value — and lasts for years.
Ready to start? Gather your tools, begin with a thorough degreasing, and your transformed kitchen is just a few days away.
Frequently Asked Questions
What is the best paint for repainting kitchen cabinets?
Water-based alkyd or acrylic enamel paints are the best choice. Top-rated options include Benjamin Moore Advance, Sherwin-Williams Emerald Urethane Trim Enamel, and Rust-Oleum Cabinet Transformations. These provide a hard, washable finish resistant to grease and daily wear.
How many coats of paint do cabinets need?
Most cabinets require 2 coats of topcoat. Lighter colours such as white or cream painted over dark wood typically need 3 coats for full, even coverage. Always allow a minimum of 4 hours between coats.
How much does it cost to repaint kitchen cabinets?
DIY material costs typically run $50–$150 for a standard kitchen. Professional cabinet painters charge $1,000–$3,000 for the same job. Doing it yourself saves up to 80% while achieving comparable results with proper preparation.
How long does the full process take?
Expect 2–4 days for the full process, including drying time between coats. The paint will feel dry within hours but takes 2–4 weeks to fully cure and harden. Avoid heavy use during this curing window.
Is repainting kitchen cabinets cheaper than replacing them?
Yes — significantly. Full cabinet replacement costs $5,000–$15,000+. DIY repainting costs $50–$150 in materials. That is a saving of 80–98%, making repainting the clear choice for budget-conscious homeowners.
What primer should I use for cabinets?
For solid wood cabinets, use a high-quality bonding or stain-blocking primer such as Zinsser Bulls Eye 1-2-3 or KILZ Original. For laminate or MDF cabinets, use a shellac-based primer such as Zinsser BIN for the strongest adhesion.
Should I use a brush or roller for cabinet painting?
Use a 2-inch angled paintbrush for edges, corners, and recessed panel details. Use a 4-inch foam roller for large flat surfaces such as door faces and drawer fronts. This combination minimizes brush marks and produces the smoothest possible finish.
Related Articles
Complete Guide to Roof Ventilation for Metal Roofs: Types, Benefits, Installation & Maintenance
How to Measure a Ceiling Fan: The Complete Size Guide for Every Room
Can You Paint Vinyl Cladding? Prep and Paint Like a Pro
How to Make Saltillo Floors Shine Again Expert Tips & Professional Solution