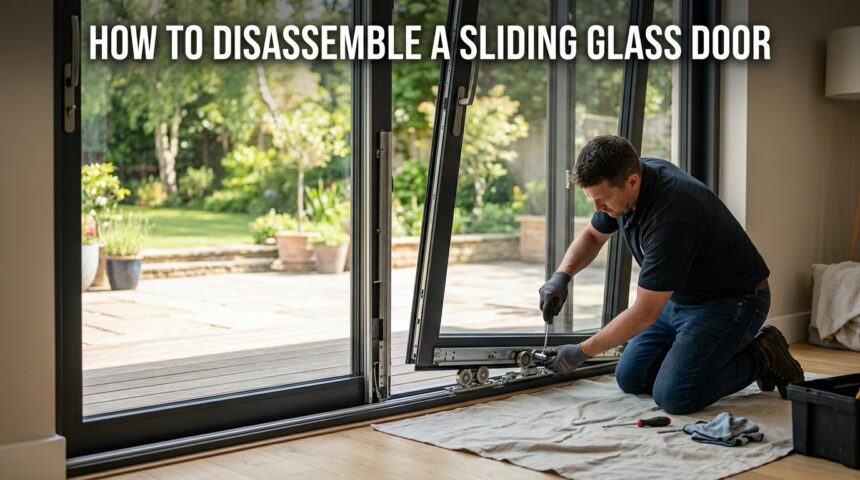
Learning how to disassemble a sliding glass door is a practical skill for anyone planning a home renovation, door replacement, or deep cleaning project. While the process looks complicated at first glance, it becomes manageable once you understand the structure of the door and follow the correct order of steps.
This guide breaks the entire process into simple stages, from gathering tools to removing the frame, so you can complete the job safely without damaging the glass, the track, or the surrounding wall.
Why You Might Need to Disassemble a Sliding Glass Door
Homeowners usually take on this task when a door is being replaced, repaired, or moved to another property. Understanding the reason behind the job helps you decide how far the disassembly needs to go.
Common Reasons for Removal
Most people disassemble a sliding door because the rollers have worn out, the glass has cracked, or the frame has started rusting. Sometimes the reason is simply a home renovation where the opening is being resized. In other cases, homeowners are moving and want to take a good-quality door with them.
What This Guide Covers
This article walks through every stage of the process, starting with safety preparation and tools, moving into the actual panel and frame removal, and ending with storage and disposal advice. Each section explains the reasoning behind the step, not just the action itself, so you understand why it matters.
Safety Precautions Before You Begin
Sliding glass doors are heavy, and the glass panels can be dangerous if mishandled. Taking a few minutes to prepare properly reduces the risk of injury or costly breakage during the job.
Protective Gear You Should Wear
Wearing thick gloves protects your hands from sharp aluminum edges and old, brittle glass. Safety glasses are equally important because dust, rust flakes, or small glass chips can fly off while unscrewing old hardware. Closed-toe shoes with a solid sole also help protect your feet if a panel slips during removal.
Why You Need a Helper
A standard sliding glass panel can weigh between 100 and 200 pounds depending on its size and glass thickness. Trying to lift and angle it out alone increases the chance of dropping it or straining your back. Having a second person to support the opposite end makes the entire process smoother and much safer.
Preparing Your Work Area
Before touching any screws, clear the floor space on both sides of the door so there is room to lay the panel down flat once removed. Placing a moving blanket or old towels on the floor prevents scratches on the glass and gives you a soft landing spot if something is set down quickly.
Tools and Materials Needed
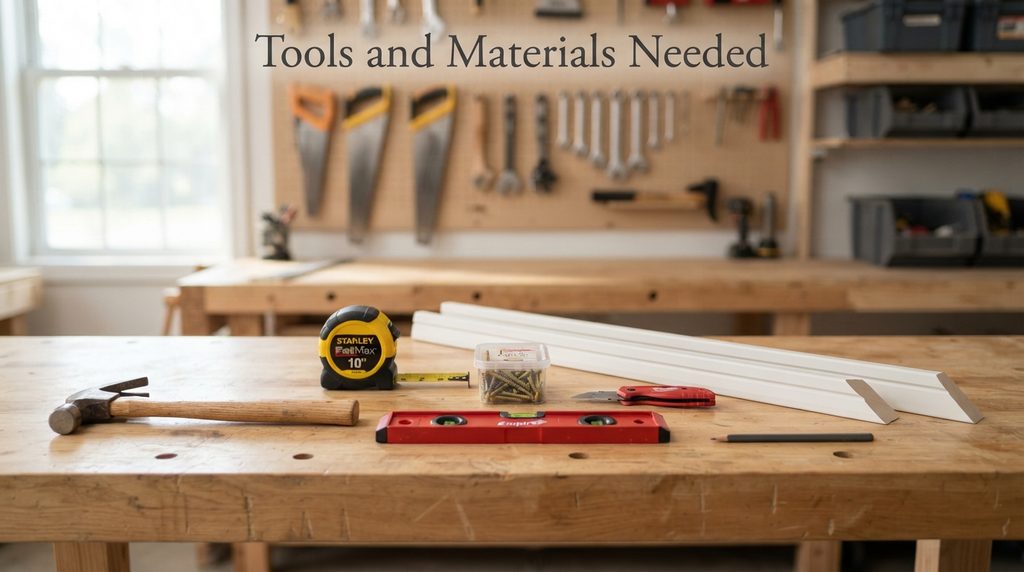
Having the right tools ready before you start saves time and prevents interruptions halfway through the job. Most of these items are common household tools, with only a few specialty pieces required.
Basic Toolkit
A Phillips and flathead screwdriver set, a utility knife, a small pry bar, and a cordless drill cover most of the disassembly work. The utility knife is particularly important for cutting through old caulk and paint seals around the frame.
Optional but Helpful Tools
A heat gun softens stubborn caulk that has hardened over the years, making it easier to scrape away without damaging the frame finish. Suction cups designed for glass handling give you a secure grip on the panel, which is especially useful when working without a helper for short moments.
Below is a quick reference table of the tools and their purpose:
| Tool | Purpose |
|---|---|
| Phillips/Flathead Screwdrivers | Removing screws from tracks, hardware, and clips |
| Utility Knife | Cutting caulk and paint seals |
| Pry Bar | Loosening stuck frame sections |
| Cordless Drill | Removing longer screws quickly |
| Heat Gun (optional) | Softening old, hardened caulk |
| Suction Cups (optional) | Gripping and lifting glass panels safely |
Understanding the Anatomy of a Sliding Glass Door
Before removing anything, it helps to know the names of the parts you’ll be working with. This knowledge prevents confusion during the actual disassembly steps.
Panels, Frame, and Track Explained
A sliding glass door typically has one fixed panel and one movable panel, both sitting inside an outer frame made up of a header at the top, a sill at the bottom, and side jambs. The movable panel rolls along the bottom track using small wheels called rollers, which are attached to its lower edge.
Fixed Panel Versus Sliding Panel
The fixed panel does not move and is usually held in place with screws or clips along its edges, while the sliding panel simply lifts out of the track once unlocked. Knowing which panel is which prevents you from trying to slide a panel that is actually screwed into place.
Preparing the Door Before Disassembly
A short preparation phase before the actual removal makes the rest of the job faster and reduces the chance of mistakes.
Inspecting for Damage and Rust
Check the track, rollers, and frame corners for rust or corrosion, since these areas can make screws harder to remove and may require extra lubricant or patience.
Taking Photos and Labeling Parts
Photograph the door from multiple angles before starting, and place removed screws and small hardware into labeled bags. This small habit makes reassembly, if needed later, far easier and prevents lost parts.
Step-by-Step Process to Disassemble a Sliding Glass Door
This is the core part of the guide, covering how to disassemble a sliding glass door from the screen door all the way to the frame itself.
Removing the Screen Door
If your door has a screen panel, remove it first since it is the lightest and simplest part. Lift the screen slightly, then angle the bottom out of the track before pulling the top free.
Removing the Sliding Glass Panel
Lift the sliding panel upward so its bottom edge clears the lower track, then angle the base outward and lower it down carefully. This is the heaviest single piece you will handle, so keep your helper close by during this step.
Removing the Fixed Glass Panel
Locate the screws or retaining clips holding the fixed panel in place, usually found along the top and side edges. Once these are removed, lift the panel straight up and out with support from both sides to avoid tipping.
Detaching Hardware and Fittings
Unscrew the rollers, handles, and locking mechanisms from the panel if you plan to reuse or replace them separately. Keeping these organized by panel side avoids confusion during reinstallation.
Cutting Away Old Caulk and Sealant
Run a utility knife along the exterior edge where the frame meets the wall to break the caulk seal before attempting to pull the frame free. Skipping this step often results in cracked trim or damaged wall paint.
Removing the Door Frame
Unscrew the header first, followed by the side jambs, and finish with the bottom sill, checking for hidden screws under trim pieces or caulk lines. Some frames also require gentle prying if they have settled into the wall over time.
Handling and Storing Removed Components
Once everything is out, proper handling prevents damage to parts you plan to reuse, sell, or recycle.
Transporting Glass Panels Safely
Always carry glass panels vertically rather than flat, and use padded materials between multiple panels if stacking them temporarily.
Organizing Hardware and Screws
Store screws, rollers, and clips in clearly labeled containers grouped by their original location on the door, which saves significant time during reassembly.
Common Problems and How to Solve Them
Even a careful disassembly can run into small obstacles, and knowing the fix in advance keeps the project on schedule.
Stuck or Rusted Screws
Apply a penetrating lubricant and wait several minutes before attempting to unscrew again, using a manual screwdriver rather than a drill to avoid stripping the head.
Panel Not Lifting Out of the Track
Check for an adjustment screw near the roller that may need loosening slightly to allow the panel to lift higher out of the track groove.
Temporary Protection for the Opening
If the new door is not going in immediately, the opening needs temporary protection from weather and security risks.
Boarding Up and Weatherproofing
Use plywood sheets screwed into the frame opening, sealed at the edges with weather-resistant tape, to keep out rain and drafts until the replacement is ready.
Disposal and Recycling Options
Old sliding glass doors contain valuable recyclable materials, so throwing them away entirely is rarely the best option.
Recycling Glass and Aluminum
Most local recycling centers accept aluminum frames separately from glass, so check with your municipal facility about their specific drop-off requirements before disposal.
Frequently Asked Questions
How long does it take to disassemble a sliding glass door?
A straightforward removal typically takes between one and three hours, depending on the condition of the caulk, screws, and whether the frame is also being removed.
Can one person complete this task alone?
It is possible for smaller doors, but a helper is strongly recommended for standard-sized panels due to their weight and awkward shape.
Is it necessary to remove the entire frame every time?
No, many repairs only require removing the glass panels, and the frame can stay in place if it is not being replaced.
What if the door is painted shut or heavily sealed?
Score around the edges with a utility knife and apply gentle heat if needed to loosen old paint or caulk before attempting to move any part.
Conclusion
Knowing how to disassemble a sliding glass door step by step turns a seemingly difficult task into a manageable weekend project. By preparing the right tools, working safely with a helper, and following the correct removal order from screen to frame, you can complete the job without damaging the glass or the surrounding structure.
Taking your time at each stage, especially when cutting caulk and lifting heavy panels, will give you the best results whether you are repairing, replacing, or relocating your door.
Related Articles
Should Curtains Touch the Floor? Complete Guide
Waterproofing Basement Walls From Outside: Complete Guide
Bathroom Cabinet Dimensions: Complete Guide 2026
Basement Ceiling Insulation: Complete Guide to Types, Costs & Best Options