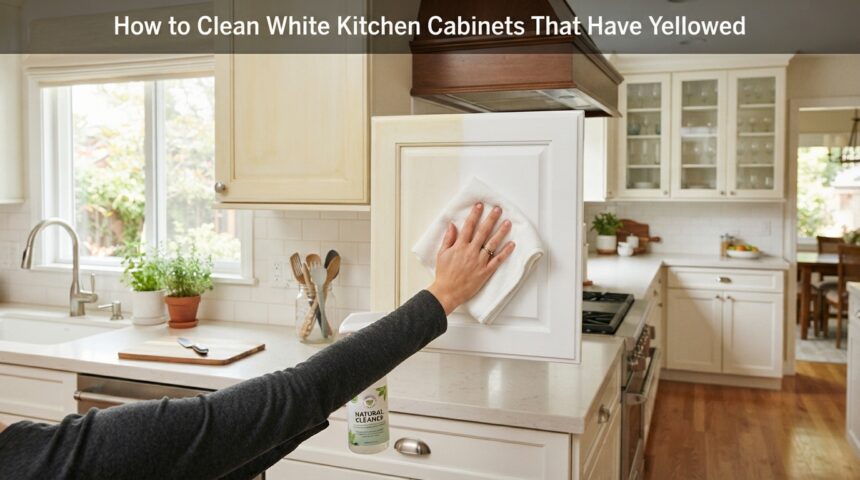
To clean white kitchen cabinets that have yellowed, start by wiping them with warm water and dish soap to lift surface grease. If a yellow tint remains, rub the spots gently with a baking soda paste. For stubborn stains, wipe on one part 3% hydrogen peroxide mixed with two parts water, wait a few minutes, and rinse. Heavy buildup may need a store-bought degreaser. Always test a hidden spot first and dry the cabinets completely afterward. If the color does not change at all, the finish itself has aged, and repainting is the only lasting fix.
White cabinets make a kitchen feel bright and clean, but a yellow tint can make the whole room look tired. The good news is that most yellowing comes from grease and grime rather than permanent damage. This guide explains how to clean white kitchen cabinets that have yellowed, how to reach tricky spots, and what to do when cleaning is not enough.
Why Do White Kitchen Cabinets Turn Yellow?
Yellowing usually comes from daily kitchen residue mixed with slow changes in the paint itself. Knowing the cause tells you whether cleaning or repainting will work.
Grease and Cooking Residue
Steam and oil from cooking float through the air and settle on nearby cabinets as a thin, sticky film. Dust and fingerprints cling to this film and darken it over time. It is the most common cause, and the easiest to remove.
Sunlight and Aging Paint
Ultraviolet light slowly changes the color of many paints, especially on cabinets beside a window. Older oil-based paints and some lacquers also turn yellow with age, even in shaded corners. This yellowing sits inside the finish, so cleaning cannot reverse it.
Heat, Humidity, and Poor Ventilation
Cabinets near the oven, kettle, or dishwasher face repeated heat and moisture. Without a working exhaust fan, fumes and steam linger and coat the surface faster. This speeds up both grime buildup and finish damage.
How to Tell Which Type of Yellowing You Have
Before scrubbing, work out what you are dealing with. Clean one hidden spot with soapy water: if it turns white, grime is the problem, and if it does not, the finish has changed.
| Type | What It Looks Like | Best Fix |
| Grease and grime | Sticky or oily feel, worst near the stove | Regular cleaning |
| Sun damage | Only sun-facing doors or sides look yellow | Repaint or refinish |
| Aged finish | Even yellow tone that stays after cleaning | Sand, prime, and repaint |
What You Need Before You Start
Gather a few simple items so you can work without stopping. Cover the counters, open a window, and remove handles if possible.
- Dish soap, white vinegar, baking soda, and 3% hydrogen peroxide
- Soft microfiber cloths, a non-scratch sponge, and an old toothbrush
- A bucket, a spray bottle, and rubber gloves
- Optional: a store-bought degreaser
Work in small sections from top to bottom, and never mix cleaning products in one container, since some combinations release harmful fumes. Test each method on a hidden area, such as the inside of a door, before using it on the full surface.
Five Ways to Clean White Kitchen Cabinets That Have Yellowed
The methods below run from gentlest to strongest, so move down the list only if the yellow stays. Follow each one with a damp rinse and a full wipe dry.
Method 1: Warm Water and Dish Soap
Add a few drops of dish soap to warm water and wipe each door with a soft cloth. Rinse with a damp cloth and dry right away. This handles light grease and suits regular upkeep.
Method 2: White Vinegar and Water
Mix equal parts white vinegar and water in a spray bottle, then spray and wipe away the sticky film. Rinse well so no smell or residue remains. Do not leave it on for long, since vinegar can dull some finishes.
Method 3: Baking Soda Paste
Combine three parts baking soda with one part water to form a soft paste. Rub it gently over stained spots with a cloth or old toothbrush, following the wood grain. Wipe clean with a damp cloth and dry.
Method 4: Diluted Hydrogen Peroxide
Mix one part 3% hydrogen peroxide with two parts water and wipe it over the yellow patches. Leave it for five to ten minutes, then rinse and dry. It lightens stains more gently than bleach, but gloves are still a good idea.
Method 5: Commercial Degreasers
Products such as Krud Kutter, Simple Green, or a TSP substitute cut through thick, old grease that home mixes miss. Follow the label, keep the room ventilated, and rinse thoroughly. Save this for last because it is the strongest option.
Cleaning Different Cabinet Materials
Not every finish handles moisture and scrubbing the same way. Use the table below to choose a safe approach for your cabinets.
| Material | Safe Approach | Avoid |
| Painted wood | Mild soap and water, dried quickly | Soaking and hard scrubbing |
| Laminate | Most methods above | Water sitting on the edges |
| Thermofoil | Soft cloth with mild soap | Heat and abrasive scrubbing, which can cause peeling |
| Lacquered or varnished wood | Mildest method first | Long contact with vinegar or peroxide |
| Melamine | Soap or baking soda paste | Abrasive pads |
How to Clean Hard-to-Reach Spots
Yellow buildup hides in grooves, hardware, and on top of cabinets, where everyday wiping misses it. A few small tools make these areas easy to reach.
Grooves and Panel Edges
Dip an old toothbrush or cotton swab in soapy water and work it along the panel lines. Grease collects in these narrow gaps, so edges often look yellow first. Wipe away the loosened dirt with a damp cloth.
Hinges, Handles, and Knobs
Unscrew the hardware and soak it in warm, soapy water for about fifteen minutes. Scrub off the residue with a soft brush, then dry completely before putting it back. Clean the cabinet surface under each piece at the same time for an even look.
Cabinet Tops and Sides
The tops of cabinets hold a thick layer of dust mixed with grease. Loosen it with a degreaser, wait a few minutes, and wipe it off. Lining the top with paper afterward makes the next cleaning much easier.
Mistakes and Products to Avoid
Some common habits can turn a simple cleaning job into permanent damage. Keep the following in mind as you work.
- Bleach, which can eat into paint and leave a stronger yellow tint
- Steel wool, scouring pads, and abrasive powders that scratch the finish
- Soaking wet cloths that let water seep into seams and edges
- Skipping the patch test on a hidden spot
- Leaving cabinets damp, which allows moisture to harm the finish
- Painting over dirty cabinets without cleaning and priming first
When Cleaning Does Not Work: Repainting Yellowed Cabinets
If the color stays the same after a thorough clean, the yellow is inside the finish. A fresh coat of paint is then the lasting solution.
Preparing the Cabinets for Paint
Degrease every surface, then remove the doors and hardware so paint reaches all edges. Lightly sand the finish with fine sandpaper to help the primer grip. Wipe away the dust with a damp cloth before you begin painting.
Priming and Painting
Apply a stain-blocking primer first, since it stops old yellow tones from bleeding through. Then brush or roll on two thin coats of water-based cabinet enamel, which resists yellowing better than oil-based paint. Let the paint cure fully, which may take a few weeks, before heavy use.
Refacing or Hiring a Professional
If the cabinet boxes are solid, replacing or refacing only the doors costs less than a full remodel. A professional painter can give a smoother, longer-lasting finish, especially on lacquered surfaces. Compare a few quotes to see whether DIY or professional work fits your budget.
How to Prevent Yellowing and Keep Cabinets Bright
A few steady habits protect the finish and stop grease from building up again. Pair them with the simple routine below.
- Switch on the range hood every time you cook
- Keep lids on pots to reduce steam and airborne grease
- Add window film or curtains to cut direct sunlight
- Choose a high-quality, non-yellowing paint when you repaint
| How Often | Task |
| Daily | Wipe up spills and splatters |
| Weekly | Quick wipe of cabinets near the stove |
| Monthly | Full wipe-down with soapy water |
| Every six months | Deep clean with a degreaser |
Frequently Asked Questions
Can I use a magic eraser on yellowed cabinets?
Melamine sponges work like very fine sandpaper, so they can dull a glossy or painted finish. Use one only on a small stubborn spot after a patch test, and rub lightly.
Can I mix vinegar and hydrogen peroxide?
No, because the two combine to form peracetic acid, which can irritate the skin, eyes, and lungs. Use them separately and rinse the surface well between products.
Can yellowed laminate cabinets be whitened?
Laminate does not yellow with age the way old paint does, so the tint is usually grime or sun exposure. Baking soda paste or diluted peroxide often brings the white back.
Should I repaint or replace yellowed cabinets?
Repaint when the boxes are solid and only the color has faded. Replace them if you see warping, water damage, or loose joints, since paint cannot fix structural problems.
Conclusion
Yellowed cabinets are not always a lost cause. Start with soap and water, move on to baking soda, peroxide, or a degreaser, and repaint only when the color sits inside the finish.
Now that you know how to clean white kitchen cabinets that have yellowed, regular upkeep and good ventilation will keep them looking fresh for years.
Related Articles
How to Repair Leather Furniture That Is Peeling: Complete DIY Guide
How to Get Urine Out of Leather Furniture: A Complete Step-by-Step Guide
What Are the Benefits of Custom Furniture? Complete Guide 2026
How to Choose Furniture for a Bathroom: Complete Buying Guide