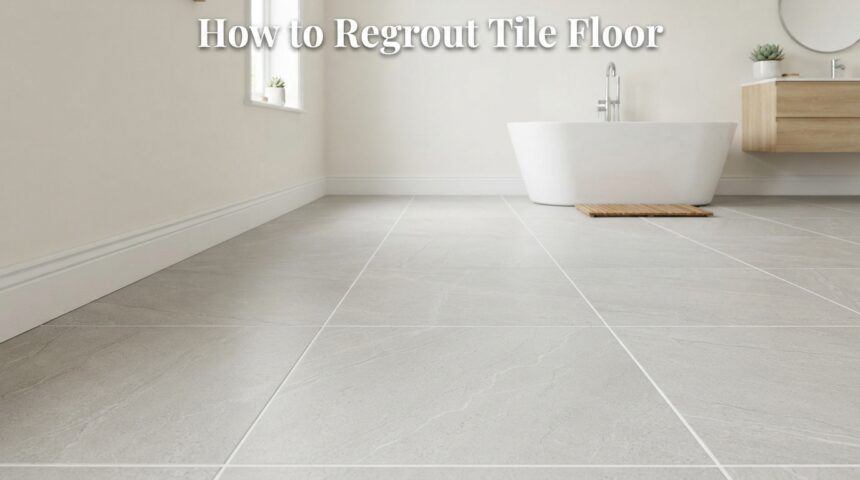
Learning how to regrout tile floor is one of the easiest ways to refresh your home without spending money on a full renovation. Old, cracked, or discolored grout makes even a beautiful tile floor look tired and neglected.
With the right tools, a bit of patience, and the steps explained in this guide, anyone can remove old grout and apply new grout like a professional. This guide walks you through every stage of the process in simple, easy-to-follow language.
Understanding Grout Basics
Before starting the actual work, it helps to understand what grout is and why choosing the right type matters. Grout is the material that fills the gaps between tiles, and it plays a bigger role in the durability of your floor than most people realize.
Types of Grout
There are mainly two categories of grout used for tile floors: sanded and unsanded. Sanded grout is thicker and works best for wider joints, usually anything above one-eighth of an inch. Unsanded grout is smoother and is generally used for narrow joints or delicate tile surfaces that could scratch easily.
Choosing the Right Grout
Besides sanded and unsanded options, homeowners can also choose between cement-based grout and epoxy grout.
Epoxy grout is more resistant to stains and moisture, making it ideal for kitchens and bathrooms, while cement-based grout is more budget-friendly and easier to apply for beginners. Color selection also matters, since lighter grout shows dirt faster than darker shades.
Tools and Materials Needed
Having the correct tools ready before starting makes the entire regrouting process smoother and prevents unnecessary delays. Below is a simple breakdown of what is required at each stage of the job.
| Category | Tools/Materials |
| Removal | Grout saw, oscillating multi-tool, rotary tool |
| Cleaning | Vacuum, damp sponge, bucket of water |
| Mixing & Application | Grout powder, mixing paddle, rubber grout float |
| Finishing | Grout sponge, soft cloth, grout sealer |
| Safety | Gloves, knee pads, safety glasses, dust mask |
Removal Tools
A grout saw is enough for small bathroom floors, but an oscillating multi-tool speeds things up significantly on larger areas.
Rotary tools with a grout removal bit are useful for stubborn, deeply set grout lines. Choosing the right removal tool depends mainly on the size of the floor and how hardened the old grout has become.
Application Tools
A rubber grout float is the most important tool for the application stage, as it allows grout to be pushed firmly into the joints without damaging the tile surface.
A mixing paddle attached to a drill helps achieve a smooth, lump-free grout mixture. Sponges and a clean bucket of water are needed constantly throughout the wiping stage.
Safety Gear
Grout removal creates a surprising amount of fine dust, so a dust mask and safety glasses are necessary to avoid irritation. Knee pads make the kneeling position more comfortable during long sessions, while gloves protect hands from the alkaline nature of grout mixtures.
Preparing the Work Area
Proper preparation prevents mess and saves time later during cleanup. This stage is often skipped by beginners, but it directly affects how smoothly the rest of the project goes.
Clearing and Protecting the Space
Move all furniture out of the room and cover nearby walls, cabinets, or fixtures with plastic sheeting or painter’s tape. This prevents dust from the grout removal stage from settling on surfaces that are difficult to clean later.
Ventilation and Safety Precautions
Open windows or use a fan to keep the air moving, since grout dust and fumes from certain sealers can be irritating in a closed space. Keeping children and pets away from the work area during the project is also a simple but important precaution.
Step-by-Step Process to Regrout Tile Floor
This is the core part of the guide, covering everything from removing old grout to sealing the new layer. Each stage below should be completed fully before moving to the next one for the best results.
Removing Old Grout
Using a grout saw or oscillating tool, carefully scrape out the old grout from the joints, going about two-thirds of the way into the joint depth. Work slowly near tile edges to avoid chipping, since rushing through this stage is the most common mistake beginners make.
Cleaning the Joints
Once the old grout is removed, vacuum the joints thoroughly to remove loose particles and dust. Wipe the area with a damp sponge afterward, since leftover debris can prevent the new grout from bonding properly with the tile edges.
Mixing the New Grout
Mix the grout powder with water according to the manufacturer’s instructions until it reaches a smooth, peanut-butter-like consistency. Mixing small batches at a time is recommended, since grout can start to harden before it is fully applied if too much is prepared at once.
Applying the Grout
Hold the rubber float at a forty-five-degree angle and press the grout firmly into the joints, working diagonally across the tiles. This diagonal motion ensures the float does not scoop grout back out of the lines while filling gaps completely.
Removing Excess Grout
After waiting around fifteen to twenty minutes, wipe the tile surface diagonally using a damp sponge, rinsing it frequently in clean water. Wiping too early can pull grout out of the joints, while waiting too long makes excess grout much harder to remove.
Buffing and Polishing
Once the grout has dried for a few hours, a light haze typically appears on the tile surface. Buffing this away with a soft, dry cloth restores the natural shine of the tiles and gives the floor a finished, professional look.
Curing and Sealing
Allow the grout to cure fully, which usually takes between forty-eight and seventy-two hours, before applying any sealer. Sealing protects the grout from stains, moisture, and mold, and is especially important in high-moisture areas like kitchens and bathrooms.
Maintenance Tips for Long-Lasting Grout
Once the regrouting process is complete, ongoing maintenance determines how long the results actually last. A little regular care goes a long way in keeping the floor looking fresh.
Daily and Weekly Cleaning Practices
Sweeping or vacuuming regularly prevents grit from scratching the tile surface, while a weekly mop with a mild, pH-neutral cleaner keeps grout lines looking clean. Avoiding excess standing water on the floor also helps protect the grout over time.
Products and Habits to Avoid
Harsh acidic cleaners can slowly break down grout and its protective sealer, so it is best to avoid bleach-heavy or vinegar-based products on sealed grout. Reapplying sealer every one to two years, depending on foot traffic, helps maintain long-term protection against mold and mildew.
Common Problems and Troubleshooting
Even with careful work, a few issues can appear after regrouting. Knowing how to identify and fix them quickly prevents small problems from becoming bigger repairs.
Grout Cracking After Application
Cracking often happens when grout is applied too thin, mixed incorrectly, or exposed to movement before it fully cures. In most cases, the cracked section can be scraped out and reapplied without redoing the entire floor.
Grout Haze That Won’t Come Off
Stubborn haze usually means the initial buffing was done too early or with a dry cloth instead of a slightly damp one. A specialized grout haze remover, used according to the product instructions, typically resolves this issue on cured grout.
Cost and Time Estimates
Understanding the cost difference between doing the job yourself and hiring a professional helps in planning the project properly.
| Factor | DIY Regrouting | Professional Regrouting |
| Average Cost (small bathroom) | $30–$80 in materials | $200–$400 |
| Average Cost (large floor) | $100–$250 in materials | $500–$1200 |
| Time Required | 1–2 days including curing | Usually completed in 1 day |
| Skill Level Needed | Beginner to intermediate | Not applicable |
Frequently Asked Questions
How long does regrouted tile floor take to dry before walking on it?
Light foot traffic is usually safe after twenty-four hours, but it is best to avoid heavy use or water exposure until the full curing period of forty-eight to seventy-two hours has passed.
Can I regrout tile floor without removing all the old grout?
It is possible to apply new grout over a thin, undamaged layer of old grout, but for cracked or crumbling grout, removing it completely gives much better, longer-lasting results.
Is sealing grout really necessary?
Sealing is not strictly required, but it significantly extends the life of the grout by protecting it from stains, moisture, and mold, especially in kitchens and bathrooms.
Conclusion
Knowing how to regrout tile floor properly can completely transform the appearance of a room without the cost of a full renovation.
By following each stage carefully, from removing old grout to sealing the final layer, anyone can achieve a clean, professional-looking result. With the right maintenance habits afterward, freshly regrouted tile floors can stay looking new for many years to come.
Related Articles
Commercial Garage Door Installation: A Complete Guide for Business Owners
How to Store Furniture in a Storage Unit: Complete Guide 2026
How Do You Remove Smoke Stains From Walls? Complete Step-by-Step Guide
How to Remove Paint from Cement Floor: Easy Step-by-Step Guide