Introduction
Replacing screening in window screens is a practical do-it-yourself project that saves money compared to buying entirely new screens. This guide walks through every step of the process using simple tools, making it easy for beginners to achieve professional-looking results.
Why Screens Need Replacement Over Time
Window screen mesh naturally weakens due to sun exposure, weather damage, or accidental tears from pets and daily use. Replacing just the screening material instead of the entire frame is a cost-effective solution that restores functionality quickly.
Tools and Materials Needed
Gathering all necessary tools before starting prevents interruptions and ensures the project moves along smoothly from start to finish. Most materials required are inexpensive and available at any hardware store.
Essential Tools
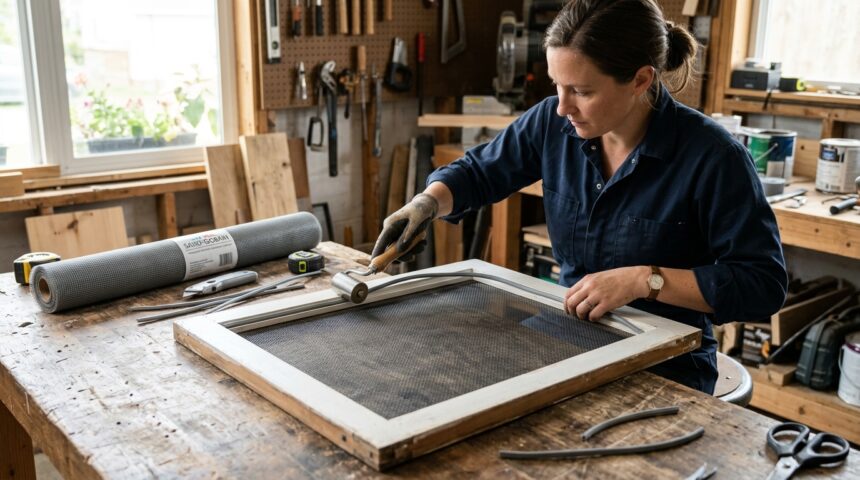
A flathead screwdriver, scissors or a utility knife, and a spline roller tool form the core toolkit needed for this project. The spline roller specifically helps press the rubber spline securely into the frame’s groove.
Required Materials
New screen mesh material and a fresh spline cord matching the size of your existing frame groove are the two primary materials needed. Screen mesh comes in different materials like fiberglass or aluminum, with fiberglass being more common for residential use.
How to Replace Screening in Window Screens: Step-by-Step
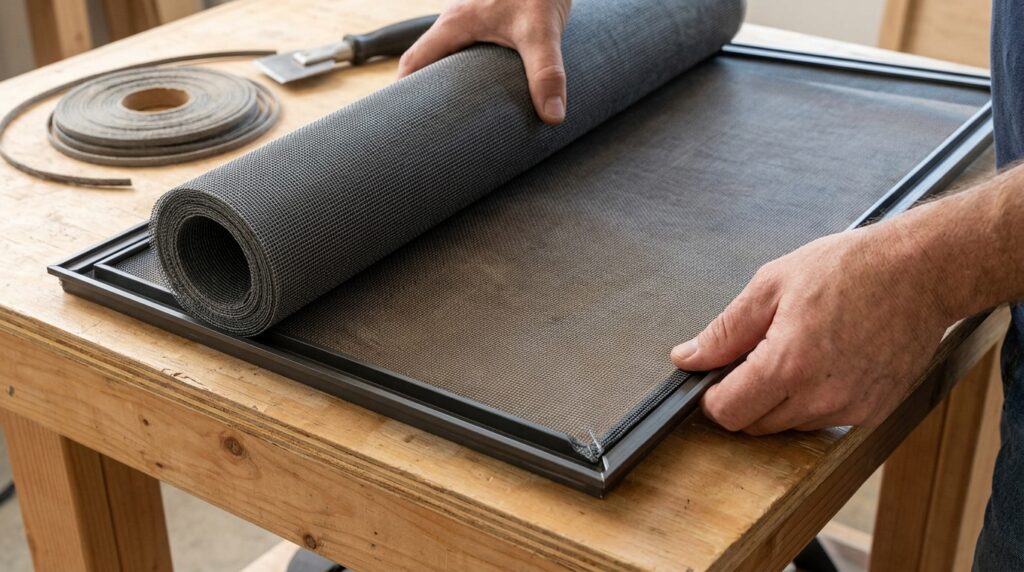
Following a clear, organized process ensures the new screening fits tightly and looks professionally installed. The table below outlines the main steps before detailed explanations follow for each one.
| Step | Action | Purpose |
| 1 | Remove old spline and screening | Clear frame for new material |
| 2 | Measure and cut new screen | Ensure proper coverage |
| 3 | Position screen over frame | Prepare for spline installation |
| 4 | Press spline into groove | Secure screen tightly |
| 5 | Trim excess material | Achieve clean finished edges |
Removing Old Spline and Screening
Using a flathead screwdriver, gently pry up one end of the old spline cord and pull it out of the groove running around the frame’s perimeter. Once removed, the damaged screening material should lift away easily, leaving the empty frame ready for new material.
Measuring and Cutting New Screen Material
Lay the frame flat on a table and place the new screening material over it, allowing at least two extra inches of overhang on all sides. This extra material provides enough slack to work with during installation and gets trimmed away at the final step.
Positioning the Screen and Installing Spline
Center the screen material evenly over the frame, then starting at one corner, use the spline roller to press the spline cord into the groove, securing the mesh underneath. Work around the entire frame in one continuous motion, keeping slight tension on the screen to avoid sagging or wrinkles.
Trimming Excess Material
Once the spline is fully installed around the entire frame, use a utility knife to carefully trim away the excess screening material close to the outer edge of the spline. Cutting at a slight angle away from the frame helps achieve a cleaner, more finished appearance.
Choosing the Right Screen Material
Selecting the appropriate screening material affects both durability and visibility depending on your specific needs. This section explains the most common options available for homeowners.
Fiberglass Screen Mesh
Fiberglass mesh is the most commonly used screening material due to its flexibility, affordability, and resistance to denting or creasing. It’s an excellent all-purpose choice for most standard residential window screens.
Aluminum and Pet-Resistant Mesh
Aluminum mesh offers a more rigid structure and is often chosen for its durability against harsh weather conditions over long periods. Pet-resistant mesh, made from thicker vinyl-coated material, is ideal for homes with cats or dogs prone to scratching at screens.
Common Mistakes to Avoid
Even simple projects like screen replacement can go wrong if certain details are overlooked during the process. Being aware of these common mistakes helps ensure a smooth, professional outcome.
Using the Wrong Spline Size
Spline cords come in various diameters, and using one that doesn’t match your frame’s groove size can result in a loose, poorly secured screen. Always measure the old spline before purchasing a replacement to ensure a proper fit.
Over-Tightening the Screen Material
Pulling the screen too tight during installation can cause the frame to bow or warp slightly, especially with thinner aluminum frames. The screen should be snug but not stretched excessively tight while pressing in the spline.
Maintenance Tips for Longer-Lasting Screens
Taking care of your screens after replacement helps extend their lifespan and reduces how often this project needs to be repeated. This section covers simple upkeep habits worth adopting.
Regular Cleaning Practices
Gently vacuuming or wiping down screens every few months prevents dust and debris buildup that can weaken the mesh fibers over time. Avoid using harsh chemical cleaners, as these can degrade certain screen materials faster than plain soap and water.
Seasonal Inspection Habits
Checking screens for small tears or loose spline sections at the start of each season helps catch minor issues before they require full replacement. Addressing small problems early often means a quick fix rather than starting the entire process over again.
Competitor Insight Analysis
Most existing guides on this topic cover only the basic installation steps while skipping material selection and common mistakes entirely. This article improves on that by combining clear instructions with practical material comparisons and troubleshooting advice competitors often leave out.
FAQs
Q1: How much does it cost to replace window screen mesh at home?
Materials typically cost very little, making this one of the most affordable home improvement projects available.
Q2: Can I reuse the old spline cord for a new screen?
It’s generally better to replace the spline as well, since old cords often become brittle and lose their grip.
Q3: How long does it take to replace one window screen?
Most homeowners can complete a single screen replacement within fifteen to twenty minutes once familiar with the process.
Q4: What’s the best screen material for homes with pets?
Pet-resistant vinyl-coated mesh is specifically designed to withstand scratching and is the best choice for pet owners.
Conclusion
Replacing screening in window screens is a manageable project that most homeowners can complete confidently using basic tools and materials. With proper technique and regular maintenance, newly replaced screens can provide long-lasting durability and improved airflow throughout the home.
Related Artilces
How to Maintain Home Plumbing Systems Complete guide 2026
How To Choose A Roofing Style: Complete Guide 2026
White Oak Cabinets: A Complete Guide 2026