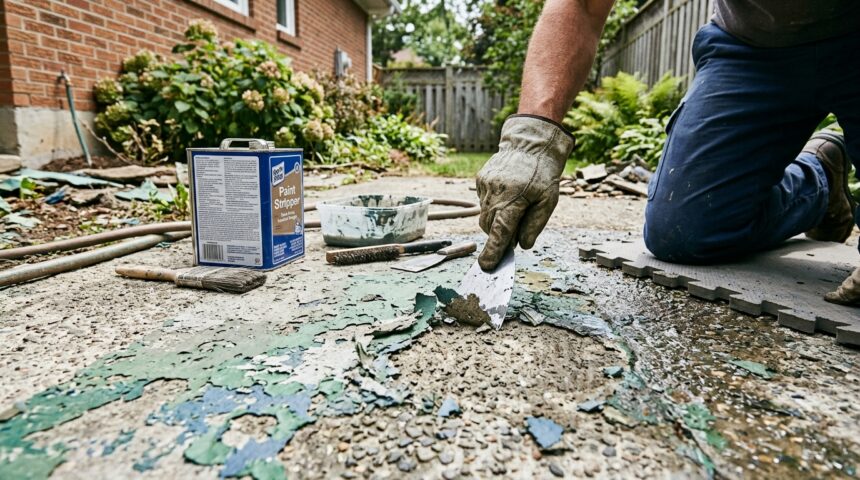
Removing paint from concrete is a common task for homeowners dealing with old driveways, garage floors, patios, or basement walls that have unwanted paint stains. Whether the paint is fresh or has dried over years, the right method depends on the paint type, the size of the area, and the tools you have available.
This guide walks you through every practical approach, from simple household tricks to heavy-duty mechanical removal, so you can choose the method that fits your situation and get your concrete looking clean again.
Introduction
Paint stains on concrete are frustrating because concrete is porous and tends to soak up paint into its surface rather than letting it sit on top. This makes removal harder compared to smooth surfaces like tile or metal.
This guide covers everything you need, including safety steps, tools, five proven methods, aftercare, common mistakes, and answers to frequently asked questions, so you can handle the job confidently whether it is a small spill or a large painted surface.
Why Paint Removal from Concrete Can Be Tricky
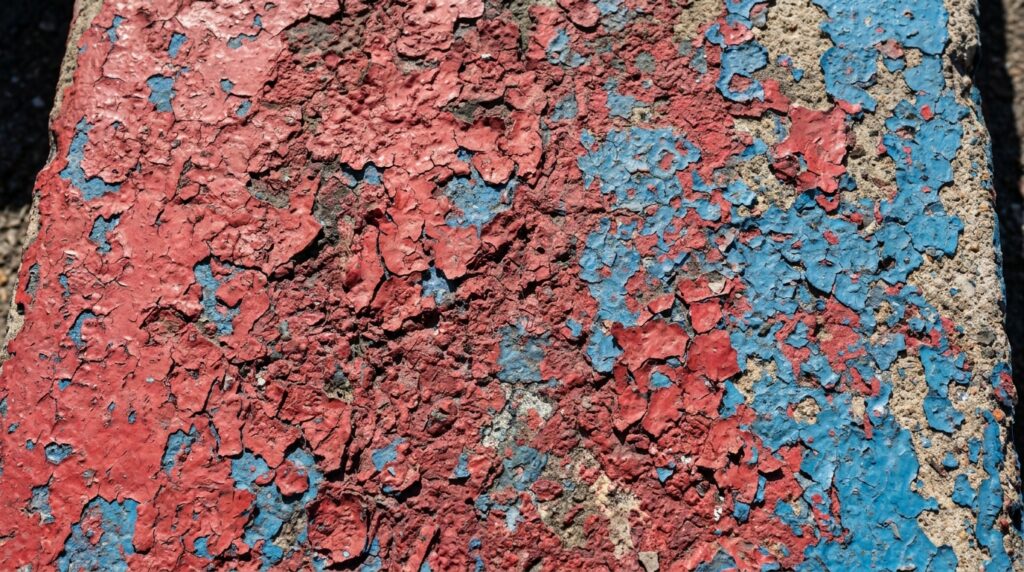
Concrete has tiny pores that pull liquid paint deep into the surface as it dries. This means surface scrubbing alone often is not enough for old, dried paint stains.
The type of paint also matters a lot. Latex paint tends to sit closer to the surface, while oil-based paint and epoxy coatings bond much more firmly and require stronger chemical or mechanical methods to lift away.
Overview of Common Situations
People usually need to remove paint from concrete in driveways, garage floors, patios, basement floors, or exterior walls. Each of these areas has different exposure to weather, foot traffic, and vehicle movement.
Outdoor surfaces like driveways often have paint that has aged for years under sun and rain, making it brittle and easier to chip in some cases, but also more stubborn in others due to UV bonding.
Understanding Concrete and Paint
Before choosing a removal method, it helps to understand why concrete holds onto paint so strongly and what type of paint you are actually dealing with.
Concrete’s rough, porous texture combined with the paint’s chemical composition determines how difficult the removal process will be.
Why Concrete Absorbs Paint
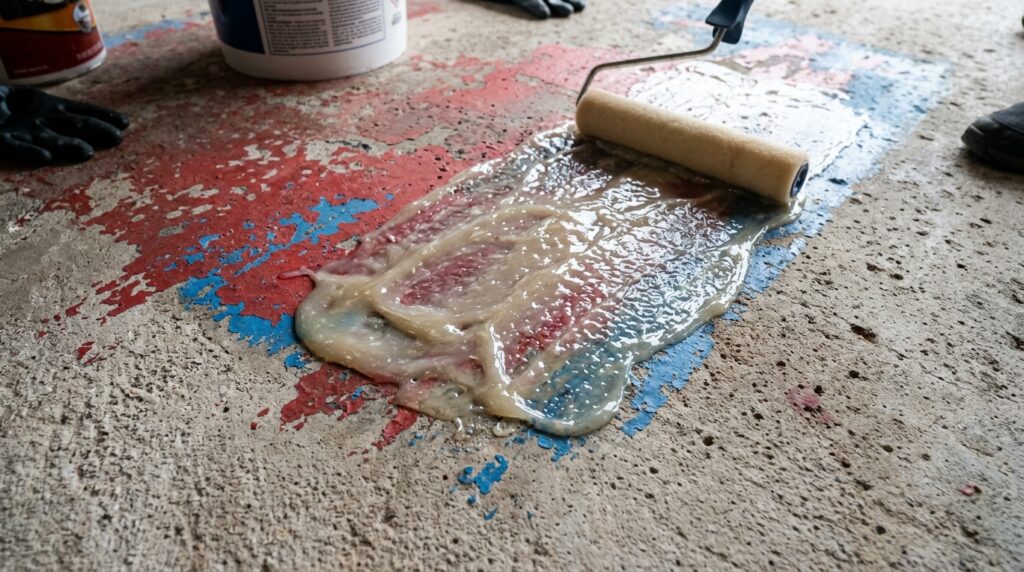
Concrete is made up of tiny air pockets and rough textures formed during curing. When paint is applied, especially in liquid form, it seeps into these pores before hardening.
This is why paint on concrete often feels like it is part of the surface rather than a coating sitting on top, unlike paint on wood or metal which usually peels away in sheets.
Types of Paint Commonly Found on Concrete
Latex paint, oil-based paint, epoxy coatings, and spray paint are the most common types found on concrete surfaces. Each reacts differently to strippers, water, and heat.
Latex paint is water-based and generally easier to soften with soap and water or mild strippers, while epoxy and oil-based paints are more resistant and usually require stronger chemical strippers or mechanical grinding.
How Age of Paint Affects Removal Difficulty
Fresh paint that has not fully cured is far easier to remove because it has not yet bonded permanently with the concrete pores.
Once paint sits for months or years, it hardens, cracks, and becomes deeply embedded, which is why older stains often need pressure washing, grinding, or professional-grade strippers instead of simple scrubbing.
Safety Precautions Before You Start
Before you start the actual removal process, it is important to protect yourself from chemical fumes, flying debris, and dust. Skipping safety steps can lead to skin irritation, breathing problems, or eye injury.
Below are the key safety measures to follow no matter which method you choose.
Protective Gear You Need
Wearing rubber gloves, safety goggles, and a proper respirator mask is essential, especially when using chemical strippers or power tools that create dust.
Long sleeves and closed shoes are also recommended to avoid skin contact with chemicals or debris kicked up during grinding or pressure washing.
Ventilation Requirements for Indoor Spaces
If you are working in a garage or basement, open doors and windows or use a fan to keep fresh air circulating, since chemical stripper fumes can build up quickly in enclosed spaces.
Poor ventilation while using solvent-based strippers can cause headaches, dizziness, or nausea, so never work in a completely sealed room.
Lead Paint Warning for Older Buildings
If your home or building was constructed before 1978, there is a chance the paint contains lead, which is hazardous if disturbed through sanding or grinding.
In such cases, avoid dry sanding or grinding methods and instead use wet removal techniques, or consult a certified lead-safe professional for testing and safe removal.
Fire and Chemical Safety with Solvents
Many paint strippers contain flammable solvents, so keep them away from open flames, sparks, or extreme heat sources during use and storage.
Always read the product label carefully and store leftover chemicals in a cool, secure place away from children and pets.
Tools and Materials Checklist
Having the right tools ready before you begin will save time and prevent interruptions once you start the paint removal process.
Here is a simple breakdown of what you will likely need depending on the method chosen.
Basic Tools You Will Need
| Tool | Purpose |
| Scraper or putty knife | Lifting softened paint |
| Stiff wire brush | Scrubbing loosened paint residue |
| Bucket and rags | Cleaning and rinsing surface |
| Broom or vacuum | Clearing dust and debris |
Chemical and Equipment Options
For tougher jobs, you may need a concrete-safe paint stripper, a degreaser, a pressure washer with adjustable nozzle settings, or an angle grinder fitted with a wire wheel or diamond cup attachment.
Renting a sandblaster is also an option for large surfaces with thick, old paint layers that other methods cannot fully remove.
Identifying Your Paint Type and Surface Condition
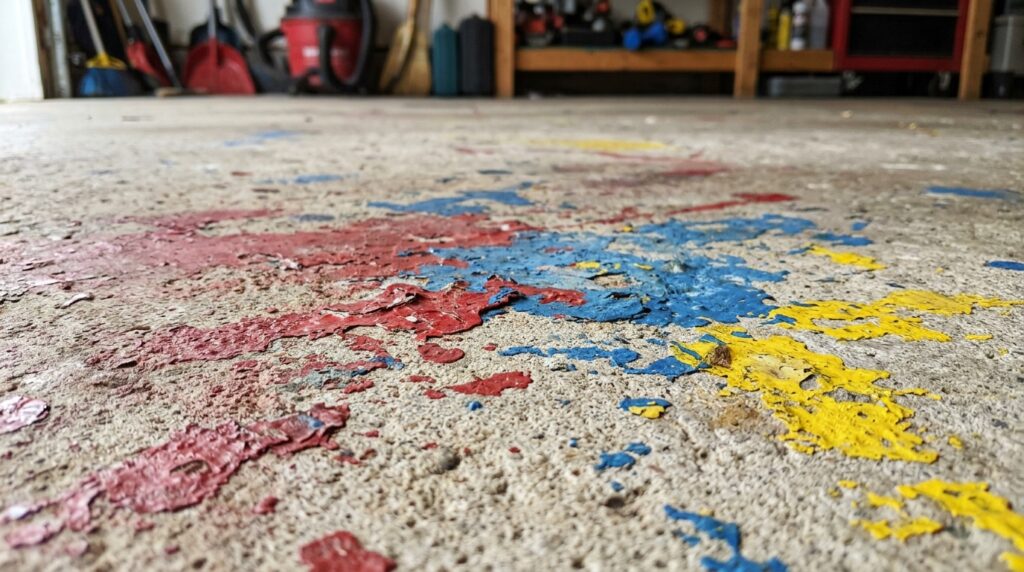
Not every paint stain needs the same treatment, so it helps to assess the situation first before jumping into a method.
Testing a small hidden area is always a smart first step to avoid damaging visible parts of your concrete.
How to Tell If Paint Is Fresh or Dried
Fresh paint usually feels tacky or slightly wet to the touch, while dried paint feels hard, flaky, or fully bonded to the surface with no give when pressed.
If the paint smears when you rub it, it is still fresh, and simple soap-and-water methods will likely work fine.
Testing a Small Area First
Choose a hidden corner of the concrete surface and apply your chosen method there first, waiting to see how the concrete and paint react.
This step prevents unwanted discoloration, etching, or texture damage on the main visible area before you commit to the full job.
Method 1: Removing Fresh or Wet Paint
This method works only when the paint has not yet dried and is still soft or workable on the surface.
It is the simplest and fastest way to prevent a stain from becoming permanent.
Step-by-Step Blotting and Cleaning Process
Start by blotting the wet paint gently with a clean rag instead of rubbing it, since rubbing can push the paint deeper into the concrete pores.
Once most of the excess is absorbed, wash the area with warm soapy water and scrub gently with a stiff brush, then rinse thoroughly with clean water to finish.
Method 2: Using Chemical Paint Strippers
Chemical strippers are ideal for dried paint that has bonded to the concrete but has not fully cured for years.
Gel-based strippers work particularly well on vertical surfaces or uneven textures since they do not run off as quickly as liquid versions.
Step-by-Step Application and Removal Process
Apply the stripper evenly over the painted area and let it sit for the time specified on the product label, usually between fifteen and thirty minutes.
Once the paint softens and bubbles, scrape it off using a putty knife, then scrub any remaining residue with a wire brush and rinse the surface completely with water.
Method 3: Pressure Washing
Pressure washing is effective for medium to large areas where paint has started to loosen or where a strong blast of water can break the bond between paint and concrete.
This method works best when combined with a degreaser for stubborn spots.
Step-by-Step Pressure Washing Technique
Use a pressure washer rated at three thousand PSI or higher with a narrow-angle nozzle tip, holding it about six to twelve inches away from the surface.
Move the nozzle steadily across the area in sections to avoid staying too long in one spot, which can etch or damage the concrete underneath.
Method 4: Baking Soda and Boiling Water
This is a budget-friendly, chemical-free option that works well for small stains or lightly stuck paint spots.
It is especially useful for people who prefer natural cleaning methods over commercial chemical products.
Step-by-Step DIY Process
Sprinkle a generous layer of baking soda directly over the painted area, then carefully pour boiling water over it and let the mixture sit for a few minutes.
Once it has soaked, scrub the area with a stiff brush to lift the softened paint, then rinse with clean water to complete the process.
Method 5: Mechanical Removal Through Grinding or Sandblasting
For heavy coatings, epoxy paint, or large surfaces where other methods fail, mechanical removal is the most reliable solution.
This method requires more effort and safety precautions but delivers the most thorough results.
Step-by-Step Grinding Process
Use an angle grinder fitted with a wire wheel or diamond cup wheel, working in small sections while wearing eye and lung protection at all times.
For very large areas, renting a sandblaster may be more efficient, followed by vacuuming or sweeping up all dust and debris once the job is finished.
Comparing All Methods
Choosing the right method depends on your paint type, surface size, and how much time or budget you want to spend on the project.
The table below summarizes each method for quick reference.
| Method | Best For | Difficulty | Time Needed | Cost |
| Blotting and washing | Fresh wet paint | Easy | Minutes | Low |
| Chemical stripper | Dried paint, small to medium areas | Moderate | 30-60 minutes | Medium |
| Pressure washing | Medium to large areas | Moderate | 1-2 hours | Medium |
| Baking soda method | Small stains | Easy | 15-20 minutes | Low |
| Grinding or sandblasting | Heavy coatings, large areas | Hard | Several hours | High |
Aftercare: Cleaning and Sealing the Concrete
Once the paint has been removed using any of the methods above, proper aftercare will help protect the concrete from future stains and damage.
This final stage is often overlooked but is important for long-term results.
Rinsing, Drying, and Repairing the Surface
After removal, rinse the entire area thoroughly to eliminate any leftover chemical residue or dust, then allow it to dry completely before inspecting for cracks or rough patches.
If any surface damage occurred during scraping or grinding, fill it with a concrete patching compound and let it cure before moving forward.
Applying a Concrete Sealer
Once the surface is clean and dry, applying a concrete sealer creates a protective barrier that makes future paint spills or stains much easier to clean.
Sealers also help maintain the appearance and durability of your concrete over time, especially in high-traffic or outdoor areas.
Common Mistakes to Avoid
Even with the right method, small mistakes can lead to wasted effort or damaged concrete, so it helps to know what to watch out for.
Mistakes That Can Ruin Your Results
Using the wrong chemical stripper for the paint type, skipping proper ventilation, holding a pressure washer too close for too long, and ignoring the risk of lead paint in older buildings are among the most common errors people make.
Each of these mistakes can either damage the concrete surface or create health risks, so following the correct steps for your chosen method is essential for a safe and effective outcome.
When to Call a Professional
While most paint removal jobs can be handled through DIY methods, some situations are better left to trained experts.
Situations That Require Expert Help
Large-scale commercial areas, surfaces suspected of containing lead paint, or stubborn industrial coatings like epoxy that resist standard methods are all good reasons to call a professional concrete cleaning service.
Professionals have access to industrial-grade equipment and safety training that can save time and reduce risk compared to attempting these jobs alone.
Frequently Asked Questions
Does vinegar remove paint from concrete?
Vinegar can help loosen very light or fresh paint stains but is not strong enough for dried or old paint layers on concrete.
Can I use a regular garden hose instead of a pressure washer?
A garden hose alone will not generate enough force to remove dried paint and works only as a rinsing step after other methods.
How long does paint stripper take to work?
Most concrete-safe paint strippers take between fifteen and thirty minutes to soften paint, though thicker coatings may need a longer dwell time.
Will grinding damage my concrete?
Grinding can slightly alter the surface texture if not done carefully, so it is best used only on heavy coatings where other methods have failed.
Conclusion
Knowing how to remove paint from concrete comes down to identifying the paint type, choosing the right method for your situation, and following proper safety steps throughout the process. From simple soap and water for fresh spills to grinding for stubborn old coatings, there is a solution for almost every scenario, and sealing the surface afterward will help keep your concrete protected for years to come.
Related articles
How to Measure Windows for Curtains (Step-by-Step Guide)
How to Get Urine Smell Out of Bathroom: Complete Guide
How to Measure a Ceiling Fan: The Complete Size Guide for Every Room
Waterproofing Basement Walls From Outside: Complete Guide
Metal Roof Overhang: A Complete Guide to Designing Effective Overhangs
How to Program a Garage Door Opener? Step-by-Step Guide for All Brands