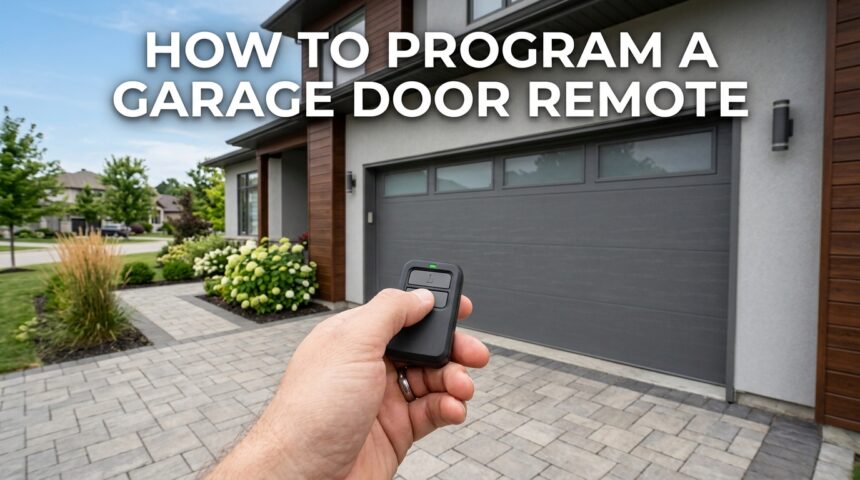
Learning how to program a garage door remote is much simpler than most people expect, and it usually takes only a few minutes once you know the right steps. Whether you bought a new remote, lost your old one, or just want to add an extra remote for a family member, the process mostly depends on your opener brand and model.
Most garage door openers use a small “Learn” button that lets the motor unit recognize a new remote signal. Once you press this button and then your remote button together, the system stores that code permanently until it is erased. This guide walks you through every method in plain, easy language so you never feel confused during setup.
Understanding Garage Door Opener Systems
Before programming a remote, it helps to understand how your opener actually works, since different systems use different signal types. Knowing this background makes the programming steps much easier to follow later.
Types of Garage Door Openers
Garage door openers generally come in chain drive, belt drive, screw drive, and direct drive versions, and each type controls the door differently.
However, the remote programming process is almost identical across all these types because it depends on the control board, not the drive mechanism. The only real difference you may notice is the location of the Learn button on the motor housing.
Fixed Code vs Rolling Code Systems
Older openers use a fixed code that stays the same every time you press the remote, which is less secure by modern standards. Newer openers use rolling code technology, meaning the code changes automatically after every use to prevent signal copying.
When you learn how to program a garage door remote for a rolling code system, the process still uses the Learn button, but the opener generates a fresh code during pairing.
Identifying Your Opener Brand and Model
Every opener has a model number printed on a sticker near the motor unit or on the back panel of the remote. This number helps you find the exact Learn button location and programming sequence for your specific device. If the sticker is faded, checking the original box or receipt usually reveals the same information.
Types of Garage Door Remotes
Garage door remotes come in several different formats, and knowing which type you own helps you follow the correct pairing method. Some remotes also require slightly different button-holding techniques.
Single Button and Multi Button Remotes
Single button remotes are the simplest and are mainly used for one garage door only. Multi button remotes let you control two or three doors from a single device, which is common in homes with double garages. Programming each button individually is necessary, since every button stores its own separate code.
Universal and App Based Remotes
Universal remotes work with multiple opener brands and often require entering a frequency setting before pairing.
App based openers, on the other hand, connect through Wi-Fi and let you operate the door from a smartphone instead of a physical remote. Both options still rely on the same basic Learn button pairing logic used in traditional remotes.
Safety Precautions Before Programming
Safety should always come first, even for a simple task like this. A few basic precautions prevent accidents and equipment damage during setup.
Basic Safety Reminders
Always keep the door path clear of people, pets, and objects while testing the remote after programming.
Use a stable ladder if the Learn button is mounted high on the ceiling unit, and avoid rushing the process. Turning off the main power switch briefly before starting is recommended for older opener models to prevent electrical issues.
General Step-by-Step Programming Instructions
This section covers the standard programming method that works for most modern openers regardless of brand. Once you understand this sequence, brand-specific instructions will feel very familiar.
| Step | Action | What Happens |
|---|---|---|
| 1 | Locate the Learn button on the motor unit | Usually near the antenna wire |
| 2 | Press and release the Learn button | Indicator light turns on or blinks |
| 3 | Press and hold the remote button | Opener light blinks or clicks once |
| 4 | Release the remote button | Code is stored in memory |
| 5 | Test the remote | Door should open or close smoothly |
Locating and Using the Learn Button
The Learn button is typically small, colored, and positioned near the antenna wire hanging from the motor unit. Pressing it once activates a short programming window, usually lasting around thirty seconds. During this window, the opener actively listens for a new remote signal.
Testing the Remote After Setup
Once programming is complete, test the remote from a short distance to confirm the signal was stored correctly. If the door responds immediately, the process is successful. If nothing happens, repeating the Learn button sequence usually resolves the issue.
Brand-Specific Programming Instructions
Although the overall process stays similar, small differences exist between major opener brands. Reviewing your specific brand ensures you don’t miss a required step.
Chamberlain and LiftMaster Remotes
Chamberlain and LiftMaster openers share nearly identical programming steps, since both brands belong to the same parent company. Their Learn button is usually purple, yellow, orange, or red depending on the model year. Pressing this button once and then holding the remote button until the light blinks completes the pairing.
Genie and Craftsman Remotes
Genie and Craftsman openers often use a similar Learn button placement but may require holding it slightly longer, around two to three seconds. After the indicator light activates, pressing the remote button for a few seconds completes the sync. Some older Genie models also require setting DIP switches manually.
Linear and Overhead Door Remotes
Linear and Overhead Door systems sometimes use a “Smart” or “Program” button instead of a traditional Learn button. The pairing logic remains the same, but the button label may differ slightly. Checking the manual for exact wording avoids confusion during setup.
Programming a Universal Remote
Universal remotes offer flexibility since they can work with several opener brands, but they require an extra frequency-matching step. This makes the process slightly longer than standard remote programming.
Setting the Correct Frequency
Universal remotes usually include a dial or switch to select the correct frequency matching your opener brand. Selecting the wrong frequency prevents successful pairing, so checking the compatibility chart included in the packaging is important. Once the frequency matches, the remaining steps mirror standard Learn button programming.
Troubleshooting Common Problems
Even with correct steps, programming issues sometimes occur due to distance, batteries, or interference. Identifying the exact cause quickly saves time.
Remote Not Responding
If the remote does not respond after programming, check the battery first, since weak batteries are the most common cause. Standing closer to the motor unit during pairing also improves signal reception. If the issue continues, repeating the Learn button process from the beginning often fixes it.
Signal Interference Issues
Nearby electronic devices, LED lighting, or Wi-Fi routers can sometimes interfere with the remote signal. Moving these devices slightly farther from the opener unit often resolves connectivity problems. This issue is more common in openers using older fixed code technology.
How to Erase Old Remote Codes
Removing old or lost remote codes is important for home security, especially after losing a remote. This process is separate from programming a new remote.
Clearing All Stored Codes
Holding the Learn button for about six to ten seconds usually clears all stored remote codes at once. The indicator light will turn off once the memory is erased. After this step, every remote must be reprogrammed again, including any smartphone app connections.
Maintenance and Battery Tips
Regular maintenance keeps your remote working reliably for years. Simple checks prevent most common performance issues.
Replacing Remote Batteries
Most remotes use small coin-style batteries that typically last one to two years with regular use. Replacing the battery is usually as simple as opening the back cover with a small screwdriver. After replacing the battery, testing the remote confirms it still works without needing reprogramming.
Frequently Asked Questions
Can I program a remote without the manual?
Yes, most openers follow the standard Learn button method, so a manual is not always necessary.
How many remotes can one opener support?
Most modern openers support multiple remotes, though the exact limit depends on the model’s internal memory.
Do all remotes work with all openers?
No, remotes must match the opener’s brand or frequency, unless using a universal remote.
What if the Learn button doesn’t respond?
Checking the power supply and trying a factory reset usually resolves unresponsive Learn buttons.
Conclusion
Understanding how to program a garage door remote becomes simple once you know your opener brand and follow the correct Learn button sequence.
Most systems share the same basic process, with only minor differences in button location or timing. Following the steps in this guide should help you set up, troubleshoot, or reset your remote confidently without professional help.
Related Articles
White Oak Cabinets: A Complete Guide 2026
Can You Paint Vinyl Cladding? Prep and Paint Like a Pro
How to Plunge a Clogged Toilet: Step-by-Step Guide (2026)
How to Open a Locked Garage Door: A Complete Step-by-Step Guide