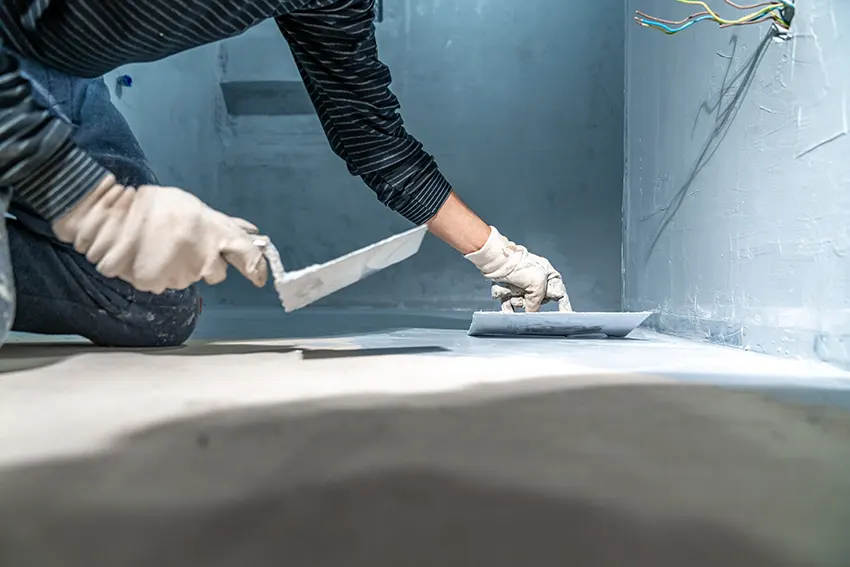
Interior basement waterproofing is one of the most reliable methods for managing water intrusion — it works by channeling incoming moisture through a sub-floor drainage system and out via a sump pump, relieving hydrostatic pressure before it can crack walls or compromise your foundation. Unlike exterior excavation, this approach is faster, less disruptive, and equally effective for most residential basements.
According to the American Society of Home Inspectors, more than 60% of homes with basements experience some form of water intrusion — making this a problem worth solving before it escalates.
In this complete guide, you will learn the key warning signs that your basement needs waterproofing, walk through the full installation process, understand which method suits your situation, and get a clear picture of the costs involved — including when to DIY and when to call a professional.
Why Interior Basement Waterproofing Is Important?
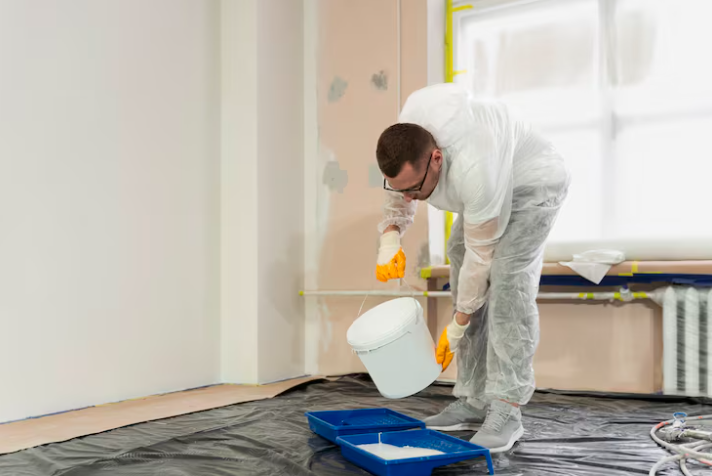
Interior basement waterproofing is essential for maintaining a safe and healthy home, as it addresses water intrusion from inside and prevents long-term damage—below, we explain the key reasons why it matters.
Preventing Structural Damage
Persistent water infiltration places continuous hydrostatic pressure on basement walls, causing them to bow, crack, or shift over time. Left unaddressed, this can compromise load-bearing elements and lead to repair bills ranging from $5,000 to $30,000 or more.
Interior waterproofing systems intercept water before it exerts full pressure, protecting both the wall surface and the foundation beneath it.
Stopping Mold Growth
Mold can begin colonizing damp surfaces within 24 to 48 hours of water exposure. Basement mold is particularly problematic because HVAC systems can distribute spores throughout the entire home, worsening respiratory conditions like asthma and allergies.
Interior waterproofing eliminates the moisture source that mold depends on, protecting both your home and your family’s health.
Eliminating Musty Odors
That persistent musty smell is not just unpleasant — it is a direct indicator of microbial activity or volatile organic compounds (VOCs) released by damp building materials. Waterproofing addresses the root cause rather than masking symptoms, leaving your basement genuinely fresh and usable as a living area, home gym, or storage space.
Signs Your Basement Needs Waterproofing
Your basement may need waterproofing if you notice common warning signs of moisture and water intrusion—below, we break down the key indicators to watch for.
Musty Odors
A persistent musty odor — especially one that returns after cleaning — signals hidden moisture trapped inside walls, beneath flooring, or within insulation. Unlike surface condensation, this type of buildup is caused by slow seepage that your nose detects before your eyes do. If the smell intensifies after rain or during humid months, water is almost certainly entering through the foundation.
Visible Mold
Mold appears as black, green, brown, or white patches on drywall, wood framing, insulation, or concrete. It spreads rapidly once established — a 10-square-foot patch can release millions of spores into your air supply.
Basement mold is never a cosmetic issue; it confirms sustained moisture exposure and typically requires both remediation and waterproofing to prevent recurrence.
Damp or Discolored Walls
Walls that feel wet to the touch, show staining, or have peeling paint are clear signs of water penetration. Moisture enters through porous concrete and gradually alters the wall’s appearance. Discoloration pinpoints where water consistently seeps in. This indicates the basement cannot resist outside moisture pressure without intervention.
White Powdery Residue (Efflorescence)
Efflorescence is the white, powdery residue left behind when water migrates through concrete and carries dissolved salts to the surface. While it does not damage the structure directly, it is a reliable early warning sign — one that tells you water is actively moving through your walls every time it rains. Catching it early gives you the best chance to waterproof before cracks or spalling develop.
Foundation Cracks
Cracks in basement walls or floors provide direct pathways for water to enter. These form due to soil pressure, foundation settling, or temperature cycling. Even hairline cracks allow moisture to infiltrate and widen over time. Addressing them early with targeted waterproofing prevents further structural deterioration.
Best Interior Basement Waterproofing Methods
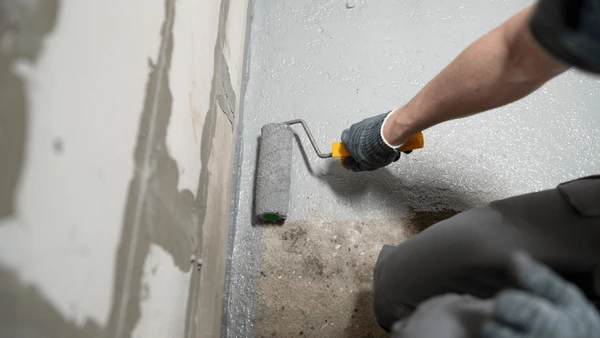
The most effective interior basement waterproofing methods focus on controlling water entry and managing moisture from inside—below are the key solutions:
1. Interior French Drain System with Sump Pump
Interior French drains (also called drain tile systems) are the most comprehensive interior waterproofing solution available. Perforated pipes are installed in a trench cut along the inside perimeter of the basement floor, collecting water that enters through walls or sub-floor seepage and directing it to a sump pump.
Because the system sits below floor level, it intercepts water before it can pool or cause damage — making it the preferred method for basements with moderate to severe water intrusion. This is typically a professional installation and is not recommended as a DIY project.
2. Cementitious Coatings and Sealants
Cementitious coatings and hydraulic cement sealants are best suited for basements with minor surface seepage or condensation issues. Applied directly to concrete or masonry walls, they bond at a chemical level to block small pores and hairline cracks. Brands like Drylok and Xypex are popular DIY-friendly options.
However, sealants cannot withstand active water pressure and will eventually fail if hydrostatic pressure is the underlying problem. In that case, a drainage system is required instead of — or in addition to — sealants.
3. Vapor Barriers
Vapor barriers — typically 6-mil or thicker polyethylene sheeting — are installed on basement walls and floors to block water vapor from migrating through porous concrete. They are particularly effective in basements where condensation and humidity are the primary concerns, rather than active water intrusion.
When used alongside a French drain system, a vapor barrier creates a comprehensive moisture management solution: the drainage handles liquid water while the barrier controls vapor. On their own, however, they are not designed to withstand liquid water pressure.
DIY vs. Hiring a Professional: Which Is Right for You?
One of the most common questions homeowners have is whether they can handle waterproofing themselves. The honest answer depends entirely on the method:
- DIY-appropriate: Applying sealants or cementitious coatings to minor seepage areas. Installing vapor barriers on walls. Cleaning gutters, extending downspouts, and improving yard grading.
- Hire a professional: Any work involving French drain installation, sump pump systems, breaking concrete, or repairing structural cracks. These require licensed contractors, specialized equipment, and in some jurisdictions, permits.
When hiring, get at least three quotes from waterproofing specialists — not general contractors. Ask specifically about warranty terms, transferability to future homeowners, and whether the estimate covers both labor and materials.
Step-by-Step Interior Basement Waterproofing Process
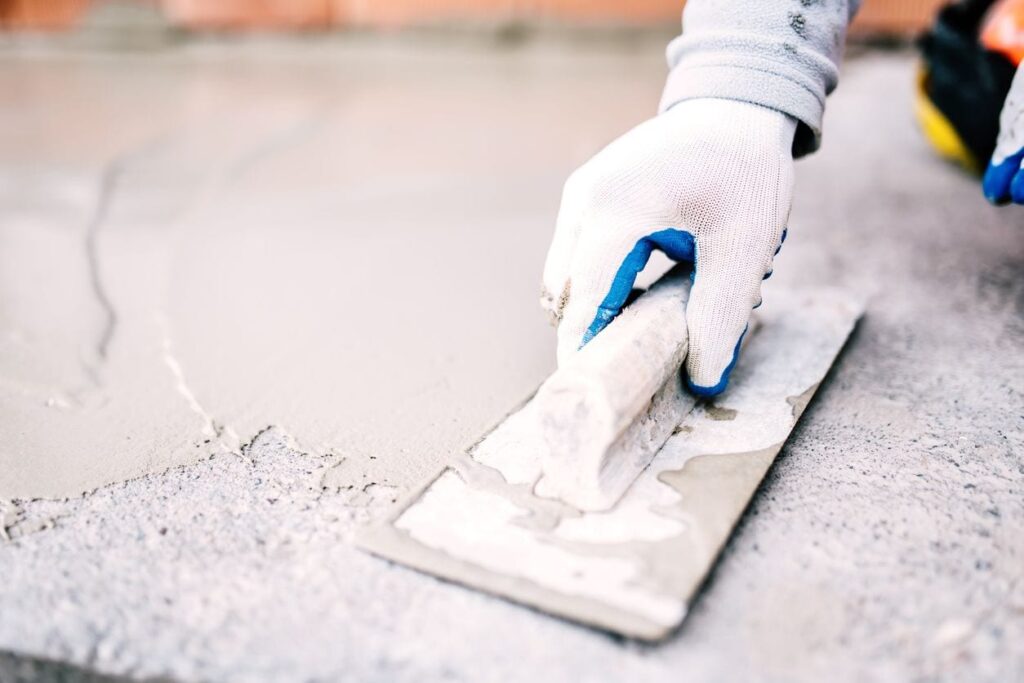
The full process typically takes one to three days for a standard basement and is almost always performed by a licensed contractor. Here is what to expect at each stage so you can supervise the work confidently and ask the right questions.
Step 1: Clearing the Perimeter
The contractor clears all furniture, storage, and obstructions from the basement edges to create full access along the walls. This step also allows the crew to visually inspect for active seepage points, cracks, or previous repair attempts that may affect the installation plan.
Step 2: Breaking the Concrete Floor
A jackhammer or saw cuts a trench approximately 8 to 12 inches wide along the interior perimeter of the floor, adjacent to the walls. The concrete and soil beneath are carefully removed without disturbing the foundation footings. Expect noise and dust during this phase — a good contractor will use dust containment sheeting.
Step 3: Installing the Drain Tile
Perforated PVC pipes are laid inside the trench on a bed of washed gravel. The gravel surrounds the pipe to allow water to flow freely while filtering out soil and debris. The pipes slope toward the sump pit to ensure passive drainage by gravity.
Step 4: Installing the Sump Pump
A sump pit is excavated at the lowest point of the system, and a sump pump is installed inside. When the water level in the pit rises, the float switch activates the pump, which ejects water through a discharge line to the exterior of the home. For basements in heavy rainfall zones, a battery-powered backup pump is strongly recommended.
Step 5: Resealing the Floor
Once the drainage components are in place, the trench is backfilled with gravel and sealed with fresh concrete. The surface is finished flush with the existing floor. A professional installation leaves a clean, nearly invisible seam. The system underneath remains fully accessible for future inspection if needed.
Cost of Interior Basement Waterproofing
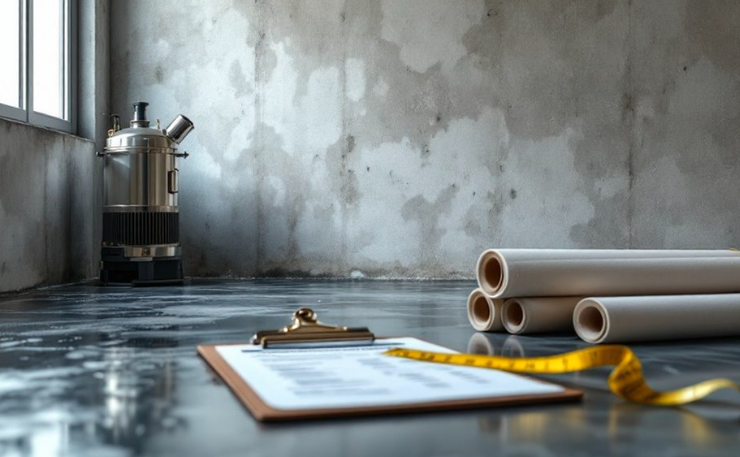
Costs vary significantly depending on the method, the size of the basement, and the severity of the water problem. Use these ranges as a starting point when comparing contractor quotes.
Average Cost by Method
- Sealants and coatings: $3–$8 per sq ft. Best for minor seepage. A DIY-friendly option that covers surface moisture effectively but does not address hydrostatic pressure.
- Interior French drain system: $50–$100 per linear foot. The most effective long-term solution for moderate to severe water intrusion. Costs vary with basement perimeter length and soil conditions.
- Sump pump installation: $500–$1,500. Required alongside any drainage system. A 1/2 HP cast-iron pump is the recommended minimum for most residential basements. Add $300–$500 for a battery backup system.
Key Factors That Affect Price
- Basement size: Larger perimeters require more pipe, more gravel, and more labor hours — all of which scale the cost upward.
- Severity of damage: Active leaks, bowed walls, or prior water damage require additional prep work before waterproofing can begin.
- Material quality: Heavy-duty drainage membranes, cast-iron sump pumps, and thicker vapor barriers cost more upfront but last significantly longer.
- Labor and region: Contractor rates vary by location. Urban areas and regions with high demand for waterproofing services typically charge 20–40% more than rural markets.
- Warranty included: Reputable contractors offer transferable warranties of 10 to 25 years. A longer warranty often reflects higher-quality materials and installation standards.
Common Mistakes to Avoid
Avoiding common basement waterproofing mistakes is essential to ensure long-term protection and prevent costly repairs. Below, we’ll highlight the key mistakes to avoid so you can make smarter, more effective decisions.
Skipping a Water Source Diagnosis
Waterproofing the wrong surface is a costly mistake. Before any work begins, identify whether you are dealing with seepage through walls, condensation, or sub-floor groundwater — each requires a different approach. A simple DIY test: tape plastic sheeting to the wall for 24 hours. If moisture forms behind the sheet, water is coming through the wall. If it forms on the surface, the issue is condensation.
Installing an Undersized Sump Pump
Many homeowners choose the cheapest pump available, only to find it cannot keep up during heavy rain. For most residential basements, a 1/2 HP pump with a cast-iron housing is the minimum recommended specification. Always add a battery backup pump for power outage protection.
Neglecting Exterior Drainage
Interior waterproofing manages water that has already entered. If gutters are clogged, downspouts discharge near the foundation, or soil grading directs runoff toward the house, the interior system will be overwhelmed. Interior and exterior drainage must work together for the solution to hold long-term.
Not Getting a Written Warranty
Reputable waterproofing contractors offer transferable warranties of 10 to 25 years. Always get this in writing and confirm it is transferable to future buyers — it protects your investment and can meaningfully increase resale value.
Maintenance Tips to Keep Your Basement Dry
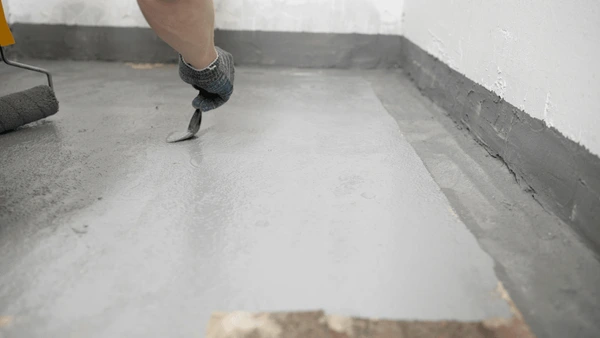
A waterproofed basement still requires routine attention to perform well year after year:
- Test your sump pump every three to six months by pouring water into the pit and confirming the float switch activates the pump.
- Clean gutters at least twice a year — spring and fall — so rainwater flows freely through downspouts rather than spilling over and pooling near the foundation.
- Extend downspouts at least 5 to 6 feet from the foundation wall. Splash blocks or flexible extensions are inexpensive and highly effective.
- Check the grading around your home annually. The ground should slope away from the foundation at a rate of at least 1 inch per foot for the first 6 feet.
- Inspect drain tile access points and sump pit annually for sediment buildup, root intrusion, or mechanical wear.
Conclusion
A wet basement is one of those problems that rewards early action — the difference between catching efflorescence on a wall and discovering a buckled foundation is often just a year or two of delay. Interior waterproofing gives you a proven, minimally invasive way to stay ahead of that damage.
Start by walking your basement today: check for the warning signs covered in this guide, then use the cost breakdowns and method comparisons to have an informed conversation with a waterproofing contractor. A dry basement is not just a comfort upgrade — it is a structural investment that protects your home’s value for decades.
FAQs About Interior Basement Waterproofing
What is the cheapest way to waterproof a basement from inside?
Applying a waterproof sealant or cementitious coating is the most affordable approach, typically costing $3–$8 per square foot. This works well for minor surface seepage and condensation but is not suitable for basements with active water intrusion or hydrostatic pressure issues.
How long does interior basement waterproofing last?
Most professionally installed systems last 10 to 25 years, particularly when backed by a transferable contractor warranty. Sealants applied without professional installation typically last 3 to 7 years before requiring reapplication.
How long does it take to waterproof a basement?
Most interior waterproofing projects take one to three days for a standard residential basement. Larger basements or those requiring extensive crack repair may take up to five days.
Does interior waterproofing increase home value?
Yes. A dry, professionally waterproofed basement with a transferable warranty is a meaningful selling point. Many buyers specifically ask about basement water history, and a documented waterproofing system with warranty can justify a higher asking price.
Do I need maintenance after waterproofing my basement?
Yes. At minimum, test your sump pump every six months, inspect drain openings annually, clean gutters twice a year, and verify exterior grading has not settled toward the foundation. Consistent maintenance ensures the system performs as designed.
What is the difference between interior and exterior basement waterproofing?
Interior waterproofing manages water that has already entered the basement by redirecting it through drainage systems. Exterior waterproofing prevents water from reaching the foundation in the first place, through excavation and membrane application on the outside of the foundation wall. Exterior is more thorough but costs two to three times more and requires significant excavation. Interior waterproofing is preferred when exterior access is impractical or the budget requires a phased approach.
Does homeowners insurance cover basement water damage?
Standard homeowners insurance policies typically do not cover water damage caused by gradual seepage or foundation leaks. Coverage is usually limited to sudden, accidental events like burst pipes. For flood-related basement damage, a separate flood insurance policy through FEMA’s National Flood Insurance Program (NFIP) is required. Always review your specific policy terms with your insurer before assuming coverage.
Related Articles
Steel vs Fiberglass Door: Which One Should You Choose?
How to Make Saltillo Floors Shine Again Expert Tips & Professional Solution
How Long Do Vinyl Windows Last? A Complete Guide
Can You Paint Vinyl Cladding? Prep and Paint Like a Pro
Best Primer for Painting Kitchen Cabinets – Complete Easy Guide for Smooth & Durable Cabinets