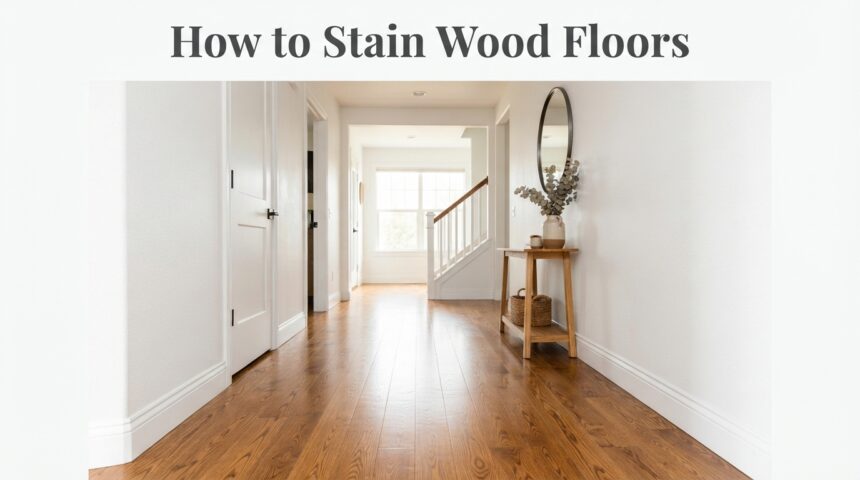
Staining wood floors means sanding the surface down to bare wood, applying a colored stain that soaks into the grain, and then sealing it with a protective finish. Done correctly, it transforms tired, scratched flooring into something that looks custom-built for the room.
The process is not complicated, but it is unforgiving of shortcuts, since uneven sanding or rushed drying almost always shows up in the final color. Most homeowners can complete a mid-sized room over a weekend if they plan the steps in order.
This guide walks through every stage of how to stain wood floors, from early prep work to long-term care, using simple language and no assumed experience.
Understanding Wood Floor Staining Before You Begin
Before picking up a brush, it helps to understand what stain actually does and which type suits your floor. A little groundwork here prevents most of the common regrets people have after their first staining project.
Why Homeowners Choose to Stain Their Floors
People stain floors mainly to change the wood’s tone without replacing it, whether that means going darker for a modern look or lighter to brighten a room.
It also refreshes floors that have faded from sunlight or years of foot traffic. Staining is far cheaper than installing new flooring while still giving the room a noticeably different feel.
Oil-Based, Water-Based, and Gel Stains Compared
Each stain type behaves differently on the floor, and the right pick depends on your wood species, timeline, and tolerance for fumes. The table below breaks down the basics.
| Stain Type | Dry Time | Color Depth | Best For |
| Oil-based | 24–72 hours between coats | Rich, deep tones | Oak, hardwoods needing warmth |
| Water-based | 2–4 hours between coats | Lighter, truer color | Fast projects, low-odor needs |
| Gel stain | 1–2 hours, thicker application | Even, blotch-resistant | Pine, maple, uneven-grain wood |
Estimating How Much Stain You Need
As a rough rule, one quart of stain covers about 100 to 150 square feet for a single coat, though porous or rough-sanded wood absorbs more. Measure your room’s square footage first, then round up rather than down. Buying slightly extra from the same batch also avoids color mismatches if you run short mid-project.
Preparing the Room Before Staining
Prep work protects the rest of your home from dust and fumes while making the actual staining process smoother. Skipping this stage is one of the most common reasons people end up with dust trapped under the finish.
Clearing Furniture and Protecting Walls
Remove every piece of furniture, rugs, and floor vents from the room, and pull up shoe molding if it’s in the way. Tape plastic sheeting over doorways leading to other rooms to stop dust migration. If baseboards are staying, run painter’s tape along the bottom edge to keep stain off them.
Setting Up Ventilation and Safety Gear
Open windows and run fans to keep air moving, especially with oil-based products, since fumes can build up quickly in a closed room.
Wear a respirator rated for organic vapors, not just a dust mask, along with gloves and old clothes. Keep pets and family members out of the space until the room airs out.
Sanding: The Foundation of a Great Stain Job
Sanding is what allows stain to soak in evenly, and it’s the step that most affects how professional the final result looks. Rushing through grits or missing spots is the single biggest cause of blotchy floors.
Selecting the Right Sander and Grit Sequence
A drum sander or orbital floor sander handles the main surface, while a handheld edger reaches corners the big machine can’t. Work through progressively finer grits, typically starting around 36-grit and finishing near 100-grit, never skipping more than one grit level at a time. Each pass should remove the scratch marks left by the previous, coarser grit.
Sanding With the Grain and Cleaning Dust
Always sand in the direction of the wood grain, since cross-grain scratches become very visible once stain highlights them.
After sanding, vacuum thoroughly and follow up with a tack cloth or slightly damp mop to lift fine dust the vacuum missed. Any dust left behind will trap under the stain and create a gritty texture.
Repairing Cracks, Holes, and Imperfections
Small flaws left unaddressed before staining tend to stand out more once color is applied, not less. This stage is quick but easy to skip if you’re eager to move on to staining.
Filling Gaps With Wood Filler
Use a wood filler close to your target stain color for nail holes, gouges, and gaps between boards, then let it cure fully before sanding it flush. Filler that hasn’t cured will sand unevenly and leave a dull patch once stained. Test a small filled area with stain beforehand if you’re unsure how it will absorb color.
Checking for Nails and Loose Boards
Walk the floor and tap down any raised nail heads with a nail set so they sit below the surface. Loose or squeaky boards should be secured now, since sanding and staining will make it harder to access fasteners later. This is also a good time to confirm there are no protruding staples from old carpet padding.
Choosing and Testing the Right Stain Color
Stain color rarely looks the same on the can as it does on your actual floor, which is why testing first matters more than most people expect.
Testing on Scrap Wood First
Apply your chosen stain to a hidden area, like inside a closet, or to an offcut of the same wood species. Let it dry fully, since wet stain almost always looks darker than the cured result. Compare it in both daylight and artificial light before committing to the whole floor.
Using a Pre-Stain Conditioner on Blotchy Woods
Pine, maple, birch, and cherry absorb stain unevenly because of their tight, irregular grain, which leads to splotchy patches. A pre-stain wood conditioner, applied 15 to 30 minutes before staining, evens out absorption significantly. Skipping this step on these particular woods is one of the most common beginner mistakes.
Applying the Stain Correctly
This is the stage people associate with “staining,” but by the time you reach it, most of the hard work is already behind you.
Step-by-Step Application Technique
Work in small sections, roughly 3 by 3 feet, applying stain with a rag, brush, or lambswool applicator in the direction of the grain.
Let it sit for the time recommended on the can, usually 5 to 15 minutes, then wipe off the excess with a clean cloth. Move to the next section before the edge of the previous one dries completely, so the sections blend rather than showing hard lines.
Avoiding Lap Marks and Uneven Color
Lap marks happen when stain dries before the next section overlaps it, so keep a “wet edge” moving across the room in one continuous direction.
If you want a darker, more saturated color, apply a second coat only after the first has fully dried rather than leaving the first coat on longer. Wipe with consistent pressure throughout, since heavier wiping in some spots than others creates visible streaks.
Drying and Curing Times Explained
Drying and curing are often confused, but treating them the same way is a common reason floors get damaged right after a staining project.
Factors That Affect Drying Speed
Humidity, temperature, and airflow all influence how long stain takes to dry, with cooler or more humid rooms slowing the process considerably.
Oil-based stains generally need 24 to 72 hours between coats, while water-based versions can be ready in a few hours. Running a fan or dehumidifier speeds things along without affecting the final color.
Dry vs Cured: Why the Difference Matters
“Dry” means the surface no longer feels tacky, while “cured” means the finish has fully hardened and can handle normal use.
Walking on a dry-but-uncured floor can leave footprints or dull patches permanently. As a general guideline, wait at least 24 hours before light foot traffic and up to two weeks before replacing furniture or rugs.
Sealing Your Stained Floor
Stain alone offers no real protection, so sealing is what actually makes the floor durable enough for daily life.
Types of Finish to Choose From
| Finish Type | Durability | Look | Recoat Frequency |
| Oil-based polyurethane | High | Warm, amber tint | Every 7–10 years |
| Water-based polyurethane | Moderate-high | Clear, true-to-stain | Every 5–7 years |
| Penetrating oil sealer | Moderate | Natural, matte | Every 1–3 years |
How Many Coats You Really Need
Most floors need two to three coats of finish for adequate protection, with light sanding or screening between coats to help each layer bond.
Skipping the sanding between coats often causes the finish to peel prematurely in high-traffic areas. Apply thin, even coats rather than one thick layer, which tends to bubble or dry unevenly.
Maintaining Your Stained Wood Floor Long-Term
A good staining job can last many years, but only with the right ongoing care.
Daily and Weekly Cleaning Tips
Sweep or vacuum regularly to remove grit that can scratch the finish, and use a cleaner made specifically for sealed wood floors rather than generic all-purpose sprays.
Wipe up spills immediately, since standing water can seep into seams and dull the finish over time. Felt pads under furniture legs prevent scuffing from daily movement.
When to Recoat or Refinish
If you notice dull patches, light scratching, or thinning finish in walkways, a fresh coat of finish alone may fix it without full sanding. Deeper gouges or worn-through color usually mean it’s time to sand back and restain. Most floors need a full refinish every 10 to 15 years depending on traffic levels.
Common Mistakes to Avoid When Staining Wood Floors
A few errors account for most failed staining projects, and knowing them ahead of time is often enough to avoid them entirely.
- Skipping sanding grits instead of progressing gradually
- Not testing stain color on scrap wood first
- Applying stain too thickly instead of wiping off excess
- Working in a poorly ventilated room
- Walking on the floor before it has fully cured
DIY vs Hiring a Professional
Deciding between doing it yourself and hiring help usually comes down to time, budget, and how confident you feel with sanding equipment.
Cost and Time Comparison
| Factor | DIY | Professional |
| Average cost per sq ft | $1–$3 | $3–$8 |
| Time to complete (mid-size room) | 1–3 days | 1–2 days |
| Equipment needed | Rented sander, applicators | Included |
When It’s Worth Calling an Expert
Hardwood with deep gouges, uneven old finishes, or valuable antique flooring is usually safer in professional hands, since mistakes at the sanding stage can be costly to fix.
If you’re staining a small room and comfortable with basic tools, DIY is a reasonable and affordable option. Larger open-plan homes often benefit from a professional’s drum sander for a more even result.
How This Guide Compares to Other Resources Online
Most online guides to how to stain wood floors either focus narrowly on the application step or skip prep and drying details that cause the most common mistakes.
This guide covers the full process, including wood-specific issues like blotching on pine and maple, which many shorter articles leave out. It also separates drying from curing, a distinction that’s frequently glossed over elsewhere despite being a major cause of damaged floors.
Frequently Asked Questions
How long does it take to stain a wood floor?
A mid-sized room typically takes a full weekend, factoring in sanding, staining, and drying time between coats.
Can I stain over an old finish without sanding?
No, stain needs bare, sanded wood to absorb properly; old finish blocks penetration and causes uneven color.
What’s the best stain for pine floors?
A gel stain paired with a pre-stain conditioner works best, since pine’s tight grain absorbs liquid stains unevenly.
Conclusion
Staining wood floors comes down to careful prep, patient sanding, and letting each stage dry fully before moving to the next.
Rushing any single step, whether it’s skipping a grit or walking on the floor too soon, is what causes most failed projects. Followed in order, this process gives even first-time DIYers a durable, professional-looking result.
Related Articles
How to Install Hardwood Flooring on Cement: Complete Guide
How Much Would It Cost To Install a Ceiling Fan?