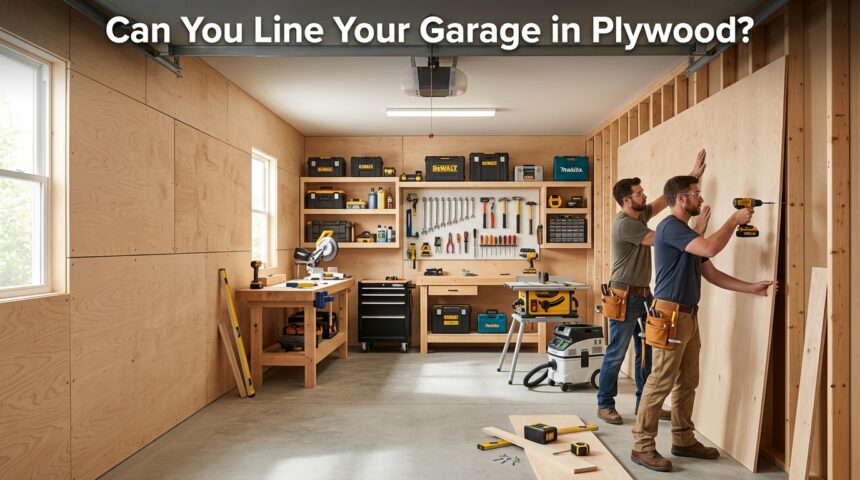
Yes, you can line your garage in plywood, and it is one of the most practical wall upgrades a homeowner can choose. Plywood-lined walls give a garage a finished appearance while allowing you to hang shelves, hooks, and pegboards anywhere without hunting for hidden studs.
This method is widely used because it is cheaper than drywall finishing, faster to install, and far more durable against dents, tool impacts, and daily wear. Below, every part of the process is explained in detail, from material choice to installation, cost, and long-term care.
Benefits of Lining a Garage with Plywood
Lining a garage in plywood improves durability, storage flexibility, insulation, and appearance all at once. It is also one of the most budget-friendly ways to upgrade a garage compared to full drywall finishing.
Durability and Wall Protection
Plywood is far tougher than drywall, so it resists dents from tools, bikes, and equipment that regularly bump against garage walls. It also holds up better against moisture compared to painted drywall. Over time, this reduces the need for wall repairs.
Easy to Hang Tools, Shelves, and Hooks Anywhere
Since plywood is attached across the full wall, you can drill or screw into it at any point without locating a stud first. This makes it ideal for pegboards, French cleats, and heavy-duty shelving systems used in most home garages.
Improved Insulation and Temperature Control
An extra layer of plywood adds a small thermal barrier between the outside wall and the garage interior. While it is not a full insulation solution, it noticeably reduces drafts when combined with proper wall insulation underneath.
Better Aesthetics and a Finished Look
A plywood-lined garage looks clean, organized, and intentional rather than showing bare studs or insulation. Many homeowners paint or seal the plywood afterward, giving the space a workshop-style, professional appearance.
Cost-Effective Compared to Drywall Finishing
Drywall requires taping, mudding, sanding, and painting, which adds labor and material costs. Plywood skips most of these steps, making it a faster and cheaper option for most DIY garage upgrades.
Types of Plywood Suitable for Garages
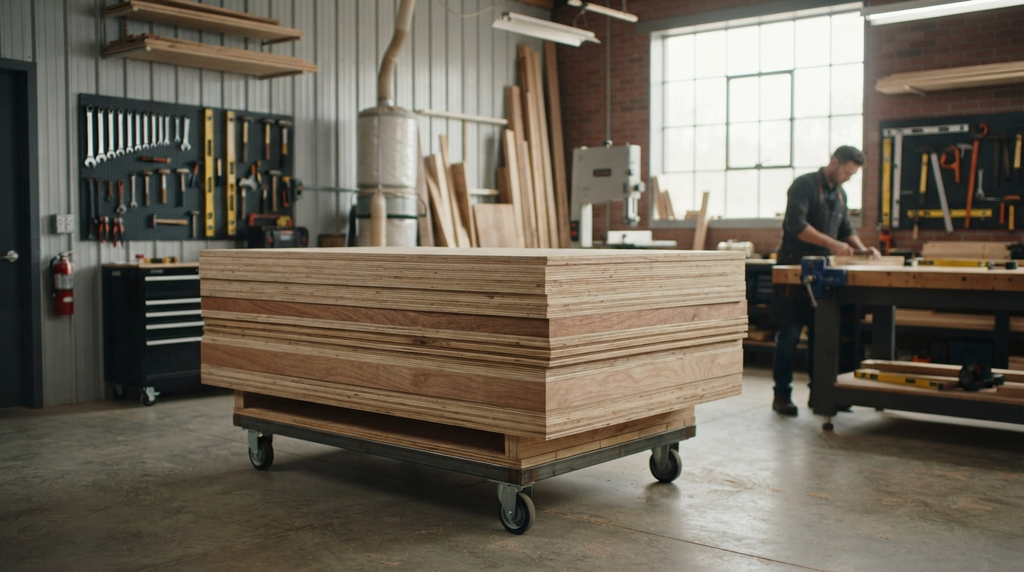
Different plywood types suit different garage conditions, from budget CDX sheets to moisture-resistant treated options. Picking the right type depends on your climate, budget, and how the garage will be used.
CDX Plywood
CDX is the most common choice for garage walls because it is affordable and structurally strong. It is not meant to look pretty, but it performs extremely well as a functional wall surface for tools and storage.
OSB as an Alternative
Oriented strand board is a cheaper substitute for plywood and offers similar strength for wall lining. It is slightly less resistant to moisture, so it works best in dry, climate-controlled garages.
Pressure-Treated Plywood
For garages that deal with dampness, humidity, or occasional water exposure, pressure-treated plywood resists rot and mold far better than standard sheets. This option costs more but prevents long-term damage.
Pre-Finished or Laminated Plywood
Pre-finished plywood already has a smooth, sealed surface, which reduces the need for painting later. It is a good choice for garages that double as workshops or hobby spaces where appearance matters.
Choosing the Right Thickness
Plywood thickness should match how the wall will be used, especially if you plan on hanging heavy shelves or equipment. Thicker sheets cost more but offer significantly better support and durability.
1/2 Inch Plywood
This thickness works for garages that need a simple wall upgrade without heavy storage demands. It is lightweight, budget-friendly, and easy for one person to install.
5/8 Inch Plywood
This is a balanced choice that supports moderate shelving and tool storage while remaining easy to handle during installation. Many homeowners choose this thickness as a middle ground between cost and strength.
3/4 Inch Plywood
For garages where heavy shelving, cabinets, or workbenches will be mounted directly to the wall, 3/4 inch plywood offers the strongest support. It is heavier and slightly harder to install but lasts the longest under load.
Tools and Materials Needed
A successful plywood installation requires basic carpentry tools and a few safety items. Most of these tools are already common in home workshops or easily rented.
The following list covers what is typically needed:
- Plywood sheets (sized to your garage wall dimensions)
- Wood screws (2.5 to 3 inches long)
- Stud finder
- Circular saw or table saw
- Drill or driver
- Level, tape measure, and chalk line
- Safety gloves, goggles, and a dust mask
Preparing the Garage Walls
Before installing plywood, the wall structure needs to be checked and cleared so the sheets sit flat and secure. Skipping this step often leads to uneven walls or future problems.
Clearing the Space
Remove any stored items, shelving, or debris near the walls so you have full access to the studs. This also prevents accidental damage to belongings during cutting and drilling.
Checking Wall Studs
Confirm the spacing and condition of the studs using a stud finder, since most garages use 16 or 24 inch spacing. Damaged or warped studs should be replaced before continuing.
Addressing Moisture or Insulation First
If the garage has moisture issues or needs insulation, this should be handled before the plywood goes up. Installing plywood over unresolved dampness can trap humidity and cause mold later.
Marking Stud Locations
Use a chalk line or pencil marks to note stud positions before covering them with plywood. This makes it much easier to screw sheets into the correct spots during installation.
Step-by-Step Installation Process
Installing plywood involves measuring, cutting, and securing each sheet directly into the wall studs in a consistent pattern. Following a clear sequence keeps the wall level and reduces wasted material.
Measuring and Cutting Sheets
Measure each wall section carefully and cut plywood sheets to fit, leaving a small gap near the floor for expansion. Accurate cuts prevent gaps and make the final wall look more professional.
Horizontal vs Vertical Orientation
Horizontal placement makes it easier to identify stud lines later, while vertical placement can look cleaner in taller garages. The choice mostly depends on personal preference and ceiling height.
Starting from a Corner
Begin installation from one corner of the garage to keep the entire wall aligned as you move across. This prevents small measurement errors from becoming major misalignments later.
Attaching Sheets to Studs
Screw the plywood into each stud using a consistent spacing pattern, typically every 8 to 12 inches. Pre-drilling holes near the edges prevents the wood from splitting.
Handling Outlets and Obstructions
Mark the position of outlets, switches, or pipes on the plywood before cutting so openings line up correctly. A jigsaw works well for precise cutouts around these obstructions.
Cutting Around Windows and Doors
Measure window and door frames carefully and cut plywood sections to fit around them without gaps. Leaving a small buffer allows for adjustments during final fitting.
Finishing Edges and Corners
Sand rough edges where sheets meet at corners so the wall feels smooth and finished. Corner trim can also be added later to hide seams neatly.
Fire Code and Safety Considerations
Some garages, especially those attached to living spaces, require fire-rated drywall underneath or instead of plywood. Checking local codes before starting prevents costly rework later.
When Fire-Rated Drywall Is Required
Attached garages often need fire-rated drywall on shared walls with the house to slow fire spread. This is a common requirement in many residential building codes.
Local Code Variations
Fire and building codes differ by city, state, and country, so requirements are not universal. It is important to check with local authorities before finalizing your material choice.
When Plywood-Only Walls Are Allowed
Detached garages generally have fewer restrictions and often allow plywood directly over studs without additional fire-rated layers. This makes detached garages easier and cheaper to line.
Checking With Local Authorities
A quick call to a local building department can confirm exact requirements for your specific garage type. This step avoids inspection issues if you ever sell the home.
Finishing Touches
After installation, a few finishing steps improve both appearance and long-term durability of the plywood walls. These steps are optional but recommended for a polished result.
Sanding Rough Edges
Light sanding smooths out rough spots left from cutting, making the wall safer to touch and easier to paint. This step takes little time but improves the overall finish.
Painting or Sealing
A coat of paint or sealant protects the plywood from moisture and makes cleaning easier. Light colors also help brighten the garage interior.
Adding Trim
Trim pieces along edges and corners give the wall a more finished, professional appearance. This is especially useful in garages used as workshops or hobby rooms.
Optional Pegboard or Slat Wall
Adding pegboard or slat wall panels on top of the plywood creates a highly organized storage system. This combination is popular among homeowners who use their garage for tool storage.
Cost Breakdown
Lining a garage in plywood is generally more affordable than a full drywall renovation, though costs vary based on garage size and plywood type. The table below gives a general cost comparison.
| Item | Estimated Cost Range |
| CDX plywood sheet (4×8) | $25 to $45 |
| Pressure-treated sheet | $45 to $70 |
| Screws and fasteners | $15 to $30 total |
| Paint or sealant | $30 to $60 |
| Professional installation (per wall) | $150 to $400 |
DIY vs Hiring a Professional
DIY installation saves significantly on labor costs and is manageable for anyone comfortable with basic tools. Hiring a professional is worth considering for large garages or complex layouts with many obstructions.
Common Mistakes to Avoid
Certain mistakes come up repeatedly during plywood installation and can affect both appearance and durability. Avoiding these early saves time and money later.
- Not locating studs accurately before drilling
- Using plywood that is too thin for heavy storage needs
- Ignoring moisture problems before installation
- Skipping local fire code checks for attached garages
Plywood vs Other Garage Wall Options
Plywood is one of several options for garage walls, and comparing it to alternatives helps clarify why many homeowners choose it. The table below highlights key differences.
| Option | Durability | Cost | Storage Flexibility |
| Plywood | High | Moderate | Excellent |
| Drywall | Moderate | Higher (with finishing) | Requires stud-finding |
| Metal panels | Very High | Higher | Good, but harder to drill |
| Exposed studs | Low | Lowest | Limited |
Compared to drywall, plywood avoids taping and painting labor while offering better impact resistance. Compared to metal panels, plywood is easier to cut, drill, and customize for DIY storage systems, which is why it remains a preferred choice for most home garages.
Maintenance Tips
Plywood walls require very little upkeep once properly installed and sealed. Occasional cleaning and touch-ups keep the wall looking new for years.
Wipe down the surface periodically to remove dust and grease buildup, especially near workbenches. If holes or dents appear from removed shelving, they can be filled with wood putty and repainted easily. Resealing every few years helps maintain moisture resistance in humid climates.
Frequently Asked Questions
Can I insulate before installing plywood?
Yes, insulation should be installed first, and plywood can go directly over it for both protection and thermal benefit.
Do I need a permit for this project?
Most cosmetic wall upgrades in detached garages do not require permits, but it is best to confirm with local authorities first.
Can I skip drywall entirely and just use plywood?
In many detached garages, yes, but attached garages may require fire-rated drywall depending on local code.
How long does the project take?
A single-car garage typically takes one to two days for a DIY installation, depending on experience level.
Is plywood fireproof?
Plywood is not fireproof, but fire-retardant treated versions are available for garages with stricter safety requirements.
Conclusion
So, can you line your garage in plywood? Yes, and it remains one of the most practical, affordable, and durable wall solutions for any garage.
It offers strong storage flexibility, a clean finished look, and long-term durability that outperforms many alternative wall materials, making it a smart choice for most homeowners.
Related Articles
How to Program Lift Master Garage Door Opener: Complete Guide 2026
How to Store Furniture in a Storage Unit: Complete Guide 2026
How to Install Foam Board Insulation on Exterior Walls?