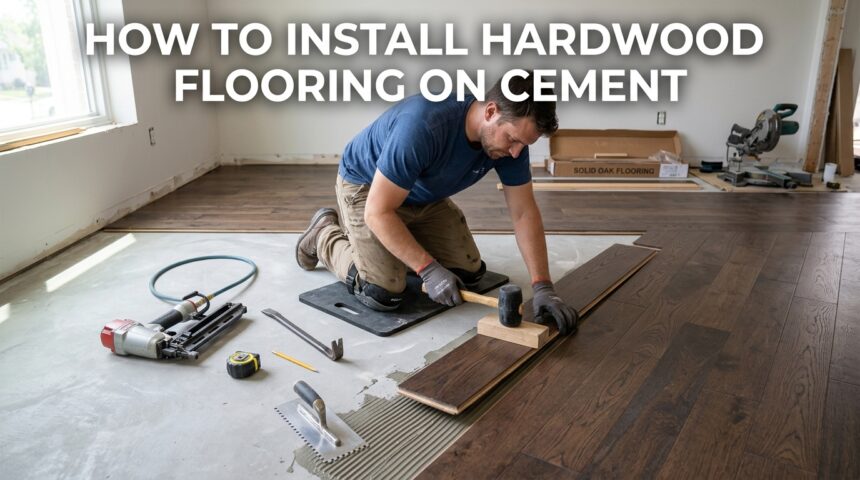
Installing wood floors over a concrete base is one of the most requested home improvement projects, but it is also one of the most misunderstood. Many homeowners assume they can nail wood planks straight onto a slab, only to run into warping, cracking, or moisture damage within months.
Learning how to install hardwood flooring on cement properly means understanding the subfloor, choosing the right wood type, and following a method that suits your budget and skill level.
This guide walks through every stage of the process in simple language, from testing the concrete for moisture to laying the final plank, so you can finish the job with confidence and avoid the costly mistakes that trip up first-time installers.
Understanding Concrete Subfloors Before Installation
Every concrete slab behaves differently depending on its age, location, and exposure to ground moisture, which is why inspection always comes before installation. Getting familiar with your slab type is the first real step in how to install hardwood flooring on cement without future problems.
Types of Concrete Slabs
Concrete slabs are generally classified as on-grade, above-grade, or below-grade, and each type carries a different moisture risk.
On-grade slabs sit at ground level and are the most common in residential homes, while below-grade slabs, such as basement floors, are more exposed to rising dampness from the soil. Above-grade slabs, found in upper floors or raised foundations, usually have the lowest moisture risk and are the easiest to work with.
Why Moisture Matters So Much
Concrete is naturally porous, which means it can hold and slowly release moisture long after it looks and feels dry to the touch.
Wood is a natural material that absorbs this moisture and expands, leading to cupping, buckling, or gaps between planks over time. This is why moisture testing is treated as a non-negotiable step in almost every professional installation guide, regardless of which method is chosen.
Choosing the Right Hardwood for Concrete
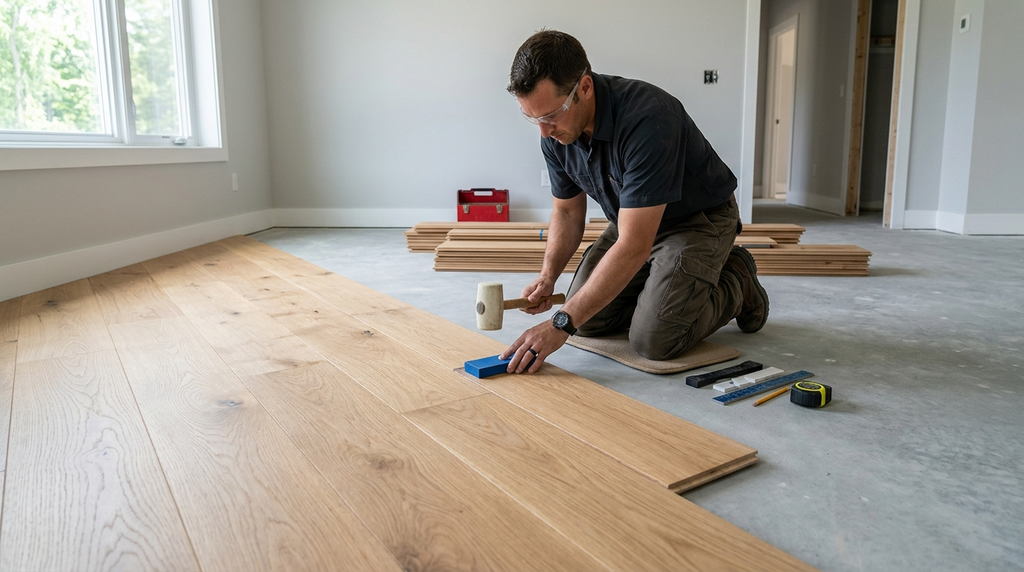
Not every type of hardwood is suitable for a concrete base, and picking the wrong product is one of the most common reasons installations fail early. The right material choice makes the rest of the process, including adhesive selection and underlayment, much easier to manage.
Solid Hardwood vs Engineered Hardwood
Solid hardwood is milled from a single piece of wood and reacts strongly to humidity changes, which makes it a poor match for direct contact with concrete.
Engineered hardwood, on the other hand, is built in layers with a plywood or high-density core topped by a real wood veneer, giving it much better dimensional stability. For this reason, most flooring professionals recommend engineered wood as the safer and more practical option when working directly on a slab.
Plank Thickness and Finish Options
Thicker engineered planks, typically between twelve and eighteen millimetres, tend to feel and sound more like solid wood underfoot and can often be refinished once or twice over their lifespan.
Pre-finished boards arrive sanded, stained, and sealed from the factory, which saves significant time and mess compared to site-finished flooring. Choosing a finish also affects maintenance later, since factory finishes are usually more durable against daily wear and moisture exposure.
Tools and Materials You Will Need
Before starting any concrete flooring project, it helps to gather everything in one place so the work does not stall halfway through. Below is a simple reference table covering the essentials most installations require.
| Category | Items Needed |
| Testing | Moisture meter, calcium chloride test kit |
| Surface Prep | Concrete grinder, floor leveling compound, shop vacuum |
| Barrier | Plastic vapor barrier sheeting, moisture sealant |
| Flooring Materials | Engineered or solid hardwood planks, underlayment or plywood |
| Installation | Adhesive or nail gun, trowel, floor roller, spacers |
| Finishing | Baseboards, transition strips, caulk |
Having the right tools on hand not only speeds up the job but also reduces the chance of skipping a step that affects long-term durability.
Preparing the Concrete Surface
Preparation is the stage where most of the success or failure of the project is decided, long before a single plank is laid. Skipping this part is the single biggest reason people search for how to install hardwood flooring on cement after their first attempt has already failed.
Testing Moisture Levels
A calcium chloride test or a relative humidity test should be performed before any barrier or adhesive touches the slab, typically over a seventy-two hour period for accurate results.
Readings above three to four pounds per one thousand square feet in twenty-four hours generally indicate the concrete is too damp for direct wood installation. If levels are too high, a moisture sealant or vapor barrier becomes mandatory rather than optional.
Cleaning and Leveling the Slab
Any dust, old adhesive residue, paint, or debris left on the concrete will prevent proper bonding and should be removed with a grinder or scraper before continuing.
Low spots need to be filled with a leveling compound, while high spots should be ground down until the surface is flat within roughly three-sixteenths of an inch over ten feet. A clean, level slab gives adhesive and underlayment an even surface to bond to, which directly affects how the finished floor feels underfoot.
Three Proven Installation Methods
There is no single correct way to install wood over concrete, and the best method depends on the slab condition, budget, and whether solid or engineered wood is being used. The three approaches below cover nearly every residential scenario.
Floating Floor Method
This method involves laying a vapor barrier and foam or cork underlayment directly on the concrete, then click-locking engineered planks together without any nails or glue touching the slab.
It is the fastest and most budget-friendly option, making it popular for basements and DIY projects. Because the floor is not physically attached to the concrete, it also handles minor slab imperfections better than other methods.
Glue-Down Method
Glue-down installation uses a moisture-resistant adhesive spread across the slab with a notched trowel, onto which engineered planks are pressed and rolled for a firm bond.
This method creates a very stable, quiet floor with less flex than a floating installation, but it requires more preparation time and is harder to remove later. It is often chosen for larger rooms where long-term stability matters more than installation speed.
Plywood Subfloor Method
For homeowners who prefer solid hardwood, a plywood subfloor is attached to the concrete first using concrete screws or construction adhesive, creating a nailable surface.
Once the plywood is secure, hardwood planks are nailed or stapled down using traditional flooring techniques. This method costs more and raises the floor height slightly, but it opens the door to using solid wood species that would otherwise be unsuitable for direct concrete contact.
Common Mistakes to Avoid
Even experienced DIYers run into avoidable problems when working on concrete, and most of these issues trace back to rushing through preparation. The following mistakes come up repeatedly in failed installations:
- Skipping the moisture test because the slab “looks dry”
- Installing wood immediately without letting it acclimate to room temperature and humidity for three to five days
- Ignoring expansion gaps along the walls, which causes buckling as the wood naturally shifts
- Using a general-purpose adhesive instead of a flooring-specific, moisture-resistant product
- Laying planks over an uneven slab without grinding or leveling first
Avoiding these mistakes is often the real difference between a floor that lasts decades and one that needs repair within a year.
Maintenance Tips After Installation
Once the flooring is down, regular sweeping or vacuuming prevents grit from scratching the surface, while a slightly damp mop is safer than soaking water, which can seep into seams.
It is also worth checking humidity levels seasonally, especially in basements, since sudden swings are still the most common cause of long-term movement even after installation is complete. Refinishing solid or thick-veneer engineered floors every seven to ten years keeps the surface looking new and extends its usable life significantly.
Cost Considerations
Budget plays a major role in deciding which method to choose, and costs vary depending on material quality and whether the work is done independently or by a professional.
| Method | Estimated Material Cost (per sq ft) | Labor (DIY vs Pro) |
| Floating Floor | $3 – $8 | Easiest for DIY |
| Glue-Down | $4 – $10 | Moderate DIY difficulty |
| Plywood + Solid Wood | $6 – $14 | Best left to professionals |
Choosing engineered wood with a floating or glue-down method is usually the most cost-effective way to achieve a durable result without hiring extensive labor.
Frequently Asked Questions
Can solid hardwood be installed directly on concrete?
Generally no, since solid wood reacts too strongly to moisture from the slab; a plywood subfloor is recommended instead.
How long does a concrete moisture test take?
Most calcium chloride tests need around seventy-two hours to give an accurate reading before installation begins.
What is the best underlayment for concrete floors?
Foam or cork underlayment paired with a plastic vapor barrier works well for most floating floor installations.
Is this a DIY-friendly project?
Floating floors are approachable for most DIYers, while glue-down and plywood subfloor methods are better suited to those with prior flooring experience.
Conclusion
Successfully learning how to install hardwood flooring on cement comes down to three things: testing the slab for moisture, choosing wood suited to a concrete environment, and following one of the three proven installation methods consistently.
Compared to many online guides that rush through preparation, this article places extra weight on moisture testing and surface leveling, since these two steps prevent the majority of long-term failures. With the right materials and a patient approach to preparation, a concrete subfloor can support a beautiful, long-lasting hardwood floor for many years.
Related Articles
How to Measure Window Screens: Complete Guide 2026
Do Gutter Guards Cause Ice Dams? The Truth Homeowners Need to Know
What Is a Finished Basement? A Complete Homeowner’s Guide
Electrician for Flickering Lights: Complete Guide 2026
Why Is My Toilet Gurgling But Not Clogged? Causes, Fixes & Prevention Guide