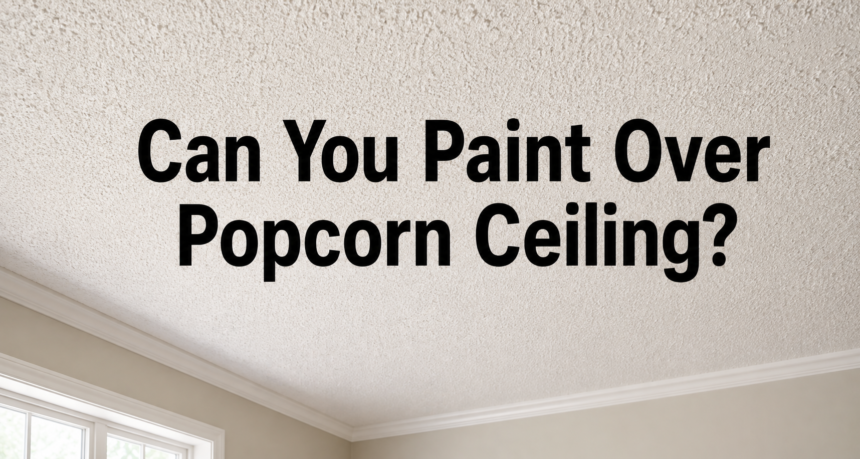
Yes, you can paint over popcorn ceiling in most homes, and it is one of the simplest ways to refresh an outdated room without the mess of full texture removal. The process works well as long as the surface is clean, structurally sound, and free of asbestos, which was sometimes used in ceiling texture materials before 1980.
Once the ceiling is confirmed safe, a stain-blocking primer followed by flat ceiling paint applied with a thick-nap roller will completely transform the look. Painting does not remove the bumpy texture itself, but it does eliminate the dated yellowish or dusty appearance that makes so many popcorn ceilings look neglected. For homeowners who are not ready to spend on removal, painting is a budget-friendly middle step that still delivers a noticeable improvement.
Key Takeaways
- Painting over a popcorn ceiling is possible and does not require removing the texture first.
- Asbestos testing is essential for any home built before 1980 before starting any prep work.
- A stain-blocking primer and flat paint applied with a thick-nap roller give the best results.
- Spraying without proper technique can soak the texture and cause it to sag or fall.
- Painting is cheaper and faster than full popcorn ceiling removal, though the texture remains visible.
What Is a Popcorn Ceiling?
A popcorn ceiling refers to the bumpy, textured finish that was sprayed onto ceilings throughout much of the twentieth century, particularly between the 1950s and 1980s. Builders favored it because it hid imperfections and reduced the need for detailed finishing work.
Today, many homeowners consider the texture outdated and are looking for ways to modernize their ceilings. While full removal is one option, painting is often a faster and less invasive alternative that still improves the room’s overall appearance without the dust and labor involved in scraping.
Can You Paint Over a Popcorn Ceiling? (Quick Answer)
Yes, painting over a popcorn ceiling is a safe and effective option once the surface has been checked for asbestos and properly prepared. The texture will remain, but a fresh coat of paint restores brightness and covers years of discoloration.
This makes it a practical choice for renters, budget-conscious homeowners, or anyone who wants a quick visual upgrade before deciding whether to invest in full ceiling removal down the line.
Is It Safe? Checking for Asbestos First
Safety comes before anything else when working with an older ceiling texture. Homes built before the early 1980s may contain asbestos in the texture material, and disturbing it without testing can release harmful fibers into the air.
Homes Built Before 1980?
If your home was constructed before 1980, there is a meaningful chance the popcorn texture contains asbestos, since it was a common additive used for fire resistance and durability during that era. This does not mean every older ceiling is affected, but it does mean testing should never be skipped.
How to Test for Asbestos?
Testing involves collecting a small sample of the ceiling material and sending it to a certified laboratory for analysis, or hiring a licensed asbestos inspector to do this safely on your behalf. Home test kits are available, but professional testing tends to give more reliable and legally recognized results.
What to Do If Asbestos Is Found?
If asbestos is confirmed, painting directly over the texture without disturbing it is generally considered safer than scraping or sanding, since undisturbed asbestos poses lower risk. However, consulting a licensed abatement professional before any work begins is strongly recommended to stay within safety guidelines.
Pros and Cons of Painting a Popcorn Ceiling
Weighing the benefits and drawbacks helps homeowners decide whether painting fits their goals, budget, and timeline compared to other ceiling renovation options.
Advantages
Painting is significantly cheaper than removal, requires less labor, and can be completed in a single weekend by most homeowners. It also refreshes the room’s brightness immediately and works as a safer option when asbestos is present but undisturbed.
Disadvantages
The bumpy texture remains visible no matter how many coats of paint are applied, and painting can make future removal slightly more difficult since paint adds an extra layer to scrape through. It is also harder to achieve a perfectly smooth, modern finish this way.
Tools and Materials You’ll Need
Having the right supplies on hand before starting prevents delays and ensures the texture is not damaged during application. Below is a breakdown of the essential tools, their purpose, and typical price ranges.
| Item | Purpose | Typical Price Range |
| Stain-blocking primer | Seals the porous texture and prevents flaking | $20–$40 per gallon |
| Flat ceiling paint | Hides imperfections and gives a matte finish | $25–$50 per gallon |
| Thick-nap roller (3/4″–1″) | Reaches into texture grooves for even coverage | $8–$15 |
| Extension pole | Reduces strain when painting overhead | $10–$20 |
| Drop cloths | Protects flooring and furniture from drips | $10–$25 |
| Painter’s tape | Protects walls and trim from overspray | $5–$10 |
Step-by-Step: How to Paint a Popcorn Ceiling
Following a structured process reduces the risk of damaging the texture and ensures the finished ceiling looks even and professional.
Prep the Room
Move furniture out of the room or cover it completely with drop cloths, and remove light fixture covers where possible. Tape off the edges where the ceiling meets the walls to keep lines clean and prevent accidental smudging.
Clean the Ceiling
Use a soft broom or vacuum attachment to remove dust and cobwebs from the entire surface before applying any product. Skipping this step can trap debris under the primer and create a rougher, uneven finish once dry.
Repair Cracks or Loose Texture
Inspect the ceiling closely for cracks, water stains, or areas where the texture is peeling, and repair these spots before painting begins. Patching compound works well for small repairs and should be fully dry before moving to the next step.
Apply Primer
Apply a stain-blocking primer using a thick-nap roller, working in small sections to maintain even coverage across the textured surface. This step seals the porous material and helps the topcoat adhere properly without soaking in unevenly.
Paint with a Thick-Nap Roller
Once the primer has fully dried, apply flat ceiling paint using the same rolling technique, working from one corner of the room toward the other. Avoid overloading the roller, since excess paint can pool in the texture and cause dripping or sagging.
Let It Dry and Inspect
Allow the first coat to dry completely before checking for thin spots or uneven coverage that may need a second coat. Most ceilings look best with two coats, giving a uniform, refreshed appearance throughout the room.
Common Mistakes to Avoid
Small errors during this process can lead to costly redos or damage to the texture, so it helps to know what commonly goes wrong.
Skipping the Asbestos Test
Moving straight into prep work without testing older ceilings is one of the most serious mistakes homeowners make, since it risks exposure to harmful fibers. This step should never be rushed or skipped, regardless of how confident you feel about the home’s age.
Using the Wrong Roller
A standard smooth roller will not reach into the grooves of the texture and often leaves patchy, uneven coverage across the ceiling. A thick-nap roller is specifically designed to handle these irregular surfaces effectively.
Oversaturating the Texture
Applying too much paint or primer at once can cause the texture to become waterlogged, leading to sagging, dripping, or pieces falling off entirely. Working in thin, even coats prevents this from happening.
Painting vs. Removing Popcorn Ceiling: Which Is Better?
Choosing between painting and full removal depends on budget, timeline, and how much the current texture bothers you visually.
| Factor | Painting | Removing |
| Cost | Lower, mostly materials | Higher, often requires labor or tools |
| Time | Can finish in a weekend | Multiple days depending on room size |
| Mess | Minimal dust | Significant dust and debris |
| Final Look | Textured but refreshed | Smooth, modern finish |
How Much Does It Cost to Paint a Popcorn Ceiling?
Costs vary depending on whether you handle the project yourself or hire a professional painter to complete the work.
DIY Cost
A DIY approach typically costs between $50 and $150 for an average-sized room, covering primer, paint, and basic tools. This makes it one of the most affordable ceiling upgrade options available to homeowners.
Professional Cost
Hiring a professional painter generally runs between $1 and $3 per square foot, depending on ceiling height, room size, and local labor rates. This option saves time and ensures a more even finish for those less comfortable doing overhead work themselves.
Frequently Asked Questions
Can you paint over popcorn ceiling without removing it? Yes, painting directly over the texture is common and does not require removing it first, as long as the surface is properly primed.
What kind of paint is best for popcorn ceiling? Flat ceiling paint works best since it hides texture imperfections and avoids the shine that satin or gloss finishes create.
Can you spray paint a popcorn ceiling? Spraying is possible but riskier, since oversaturation can loosen the texture; rolling is generally the safer method for most homeowners.
How long does painted popcorn ceiling last? A properly primed and painted popcorn ceiling can last many years, similar to standard ceiling paint, as long as moisture exposure stays low.
Does painting popcorn ceiling make it look better? Yes, painting significantly brightens the room and removes discoloration, even though the textured surface itself remains unchanged.
Conclusion
Painting over a popcorn ceiling is a practical, budget-friendly way to refresh a dated room without the mess of full texture removal. As long as asbestos testing is handled first and the right tools are used, most homeowners can complete this project safely and see a noticeable improvement in how the space looks and feels.
Related Articles
Window with J-Channel: A Complete Homeowner’s Guide
How to Install New Basement Window: Complete Guide 2026