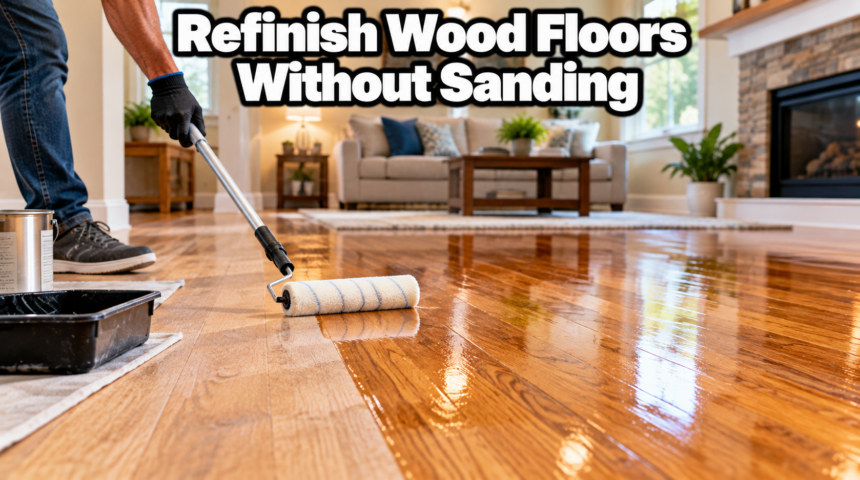
Yes, you can refinish most wood floors without sanding them down to bare wood, as long as the wear sits on the top finish and the wood underneath is still sound. Think of it as a reset for the top layers, not surgery on the wood itself. You scuff or de-gloss the old finish just enough for a new coat to grip, then roll on fresh finish. The floor looks new again, and you skip the dust, the heavy drum sander, and most of the cost.
The catch is that no-sand methods only fix finish problems. They cover light scratches, dull patches, and worn traffic lanes. They cannot remove deep gouges, lift gray water stains, flatten cupped boards, or change the floor’s color. Below are the methods that actually work, how to tell which one fits your floor, and when sanding is the only honest answer.
When you can skip sanding, and when you can’t
The deciding factor is how deep the damage goes. A wood floor is really two things stacked together: the raw wood boards, and a thin clear finish on top that takes all the daily abuse. Most of what makes a floor look worn, the dullness, the fine scratches, the traffic lanes by the door, lives in that finish layer, not the wood. If the problems are in the finish, you can recoat. If they reach the wood, you cannot, and no amount of recoating will hide them.
You can skip sanding when:
- The finish looks dull, cloudy, or scuffed, but the surface is smooth to the touch.
- Scratches are shallow and sit in the finish, not the wood.
- You like the current color and only want the floor to look fresh again.
- The old finish is still bonded to the floor, not peeling or flaking.
You need full sanding when:
- Scratches or gouges are deep enough to catch a fingernail.
- There are gray or black stains, which usually mean water has reached the wood.
- Boards are cupped, crowned, or uneven.
- The old finish is peeling, flaking, or lifting in sheets.
- You want to change the color, especially to go lighter. Removing or lightening color means going back to raw wood.
Quick test: run a coin lightly across a worn spot. If it glides, you likely have a finish-only problem and a recoat will work. If it drags or catches in a scratch, that damage is in the wood, and you need to sand.
Method 1: Screen and recoat
Screen and recoat is the main way pros refinish a floor without sanding, and it is the best choice for a solid wood floor with light to moderate wear. It is also called a buff and coat. A floor buffer fitted with a fine abrasive screen lightly scuffs the old finish so a new topcoat can bond, then you apply fresh polyurethane. The color stays the same, and the whole job can be done in a day.
How to do it:
- Clear the room and clean the floor well. A hardwood floor cleaner works, or a mix of about 10 parts water to 1 part white vinegar. Wring the mop almost dry, since you want low moisture. Let it dry fully.
- Fit the buffer with a 120-grit sanding screen, or a maroon buffing pad for lighter work. Don’t go coarser than 120, because a rough screen can cut through the finish into the wood.
- Buff the whole floor with the grain, overlapping each pass by about 6 inches. Keep the buffer moving so you don’t dwell in one spot, and clear the pad often.
- Hand-sand the edges and corners the buffer can’t reach with 180-grit paper, working with the grain, until the finish dulls evenly.
- Vacuum thoroughly, then wipe with a tack cloth. Any dust left behind will show up as bumps in the new finish.
- Cut in the edges with a brush, then roll the finish across the floor in sections using a long-handled roller with a 1/4-inch nap. Work toward the exit so you don’t paint yourself into a corner.
A water-based finish dries fast, often in a couple of hours, which is why this job fits in one day. Wait about three hours before a second coat, and give it roughly a week before you move heavy furniture back. The dust is minimal compared with full sanding. One thing to know: water-based poly can react with the natural tannins in some woods, like oak, and tint the floor. A base coat or primer first prevents that, so test a hidden spot before you commit.
Method 2: Chemical etch and recoat
A chemical etch kit is the no-sand option when buffing isn’t practical, and it is the usual route for a floor you can’t abrade safely, like a thin engineered floor or a worn factory-finished surface. Instead of scuffing the finish with a screen, a liquid etcher de-glosses it chemically, a bit like a mild acid, so the new coat can stick. It is a reasonable fallback, though it is less of a sure thing than screening.
How to do it:
- Clean the floor completely and let it dry. Any grease, wax, or polish left behind will stop the etcher and finish from bonding.
- Spread the etching liquid evenly with a flat applicator pad or the one in the kit. Follow the product’s coverage and let it sit for the time the label gives.
- Let the etcher dry fully. This step is what replaces the sanding screen, so don’t rush it.
- Apply the clear finish with the applicator, working in even strokes toward the exit.
Etch kits shine on surfaces where you can’t risk cutting through a thin wear layer, and they are often the only no-sand choice for a worn laminate or engineered floor short of replacing it. The trade-off is reliability. If the old finish was waxed, oiled, or contaminated, the new coat may not grip, so always test a small hidden area first and wait a day to see if it holds.
Method 3: Clean and polish, a refresh rather than a refinish
A clean-and-polish is the lightest option, and it is right when your floor is basically fine and just looks tired. This is not a true refinish. You are not adding a durable new topcoat, you are laying down a thin polish that fills micro-scratches and restores shine for a while. It is quick, cheap, and needs no equipment, which makes it a good stopgap.
The routine is simple. Clean the floor with a hardwood cleaner, let it dry, then spread a floor polish with a microfiber applicator or spray mop, working from the far corner toward the door. A product like Bona’s hardwood floor polish spreads thin and dries fast, with one bottle covering around 500 square feet. You can usually walk on it in about an hour and put furniture back after 24 hours.
Two limits matter. Polish won’t bond to a floor that has an oil or wax coating, so test a hidden spot first. And because the layer is thin, it wears off and needs reapplying every month or two. Deep scratches will still show. Treat polish as a fast refresh between real recoats, not a replacement for one.
Method 4: Oil and hardwax-oil refresh
If your floor is finished with a penetrating oil or a hardwax-oil rather than polyurethane, the refresh is different and easier. Oiled floors are built to be topped up in place. You clean the floor, rub a fresh coat of the same oil or hardwax-oil into the worn areas, and buff it out. The new oil soaks into the wood and blends with what’s already there, so there are no lap marks or peeling edges to worry about.
This only applies to floors that were oiled in the first place. You can usually tell because oiled floors have a low, matte sheen and feel more natural underfoot than glossy poly. The upside is that spot repairs are easy and the look stays natural. The downside is that oiled floors ask for this kind of upkeep more often than a poly floor does.
Which method fits your floor?
Match the method to what your floor actually needs. The table below lines up the common situations with the right no-sand approach, or tells you when to sand instead.
| Your floor’s condition | Best method | What to expect |
| Dull or scuffed poly finish, smooth surface, same color wanted | Screen and recoat | Full day job, like-new result, minimal dust |
| Thin engineered or factory finish you can’t safely buff | Chemical etch and recoat | Works if the floor is clean; always test first |
| Floor is fine, just looks tired and a bit dull | Clean and polish | 1 hour and done, but wears off in weeks |
| Low-sheen oiled or hardwax-oil floor | Oil refresh | Easy spot fixes, blends naturally, frequent upkeep |
| Deep scratches, gray stains, cupping, peeling, or new color | Full sanding (no shortcut) | Recoating will not fix these |
If more than one row describes your floor, go with the most serious problem. A floor with one deep gouge in an otherwise dull finish still needs that gouge dealt with, and a spot repair or sanding is the honest fix there.
How long a no-sand finish lasts
A proper screen and recoat holds up well. With normal care, many homes get three to five years, often longer, out of a recoat before the floor needs another one. Busy spaces like hallways and kitchens may wear through sooner, while a quiet bedroom can go much longer.
The big advantage of recoating on a schedule is that it protects the wood. As long as you add a fresh topcoat before the old finish wears through to bare wood, you may never need to fully sand the floor again. Sanding removes real wood each time, and a floor can only take so many passes before the boards get too thin, so recoating is what stretches a floor’s life across decades. The habit to build is simple: recoat while the finish is just looking tired, not after it has worn down to the wood in the busy spots. Once you see bare wood or gray patches, you have missed the window and a full sand is the only fix.
A few things make a recoat last longer. Keep grit off the floor, since sand and dust act like fine sandpaper underfoot. Use felt pads under furniture and a doormat at every entrance. Clean with a product made for wood, not a wet mop or an all-purpose cleaner, both of which can dull or damage the finish over time. For general care and timing, the National Wood Flooring Association’s consumer guidance on wood floor care is a solid reference. A clean-and-polish refresh is the exception to all of this, lasting only a few weeks before it needs redoing, because it is a surface shine rather than a bonded coat.
Conclusion
You can refinish wood floors without sanding whenever the wear is only in the finish and the wood is sound. Screen and recoat is the go-to for solid floors, etch kits suit thin or factory finishes, and polish is a quick refresh. Match the method to your floor’s condition, test a hidden spot first, and recoat before the finish wears through. Done right, the floor looks new and you skip the dust and expense of full sanding.
Frequently asked questions
How can I tell if my floor can be recoated or needs sanding?
Run a coin or fingernail across a worn area. If it glides, the damage is in the finish and a recoat will work. If it catches in scratches, or you see gray stains or cupping, the damage is in the wood and you need to sand.
Is screen and recoat the same as refinishing?
It is a type of refinishing, just without full sanding. It renews the top finish so the floor looks new, but it keeps the same color and won’t remove deep damage. True refinishing means sanding to bare wood and starting over.
Will a no-sand recoat change my floor’s color?
No. Recoating, etching, and polishing all keep your current color. A clear coat can slightly deepen the tone, but you cannot lighten a floor or change its stain without sanding down to raw wood first.
How much does it cost to refinish floors without sanding?
A DIY screen and recoat is far cheaper than full refinishing, mostly the cost of a buffer rental, a screen, and finish. Full professional refinishing with sanding typically runs over a thousand dollars, so skipping the sand saves the most.
Can you refinish engineered or laminate floors without sanding?
Engineered wood can be recoated or etched, since it has a real wood top layer, but only lightly because that layer is thin. Laminate is printed plastic, not wood, so it can’t be refinished. A compatible etch-and-coat is the only cosmetic option.
Related Article
How Much Would It Cost To Install a Ceiling Fan?
Commercial Garage Door Installation: A Complete Guide for Business Owners
Galvalume Gutters: Cost, Lifespan & Value Guide
How Do You Hang Wall Cabinets? A Complete Step-by-Step Guide