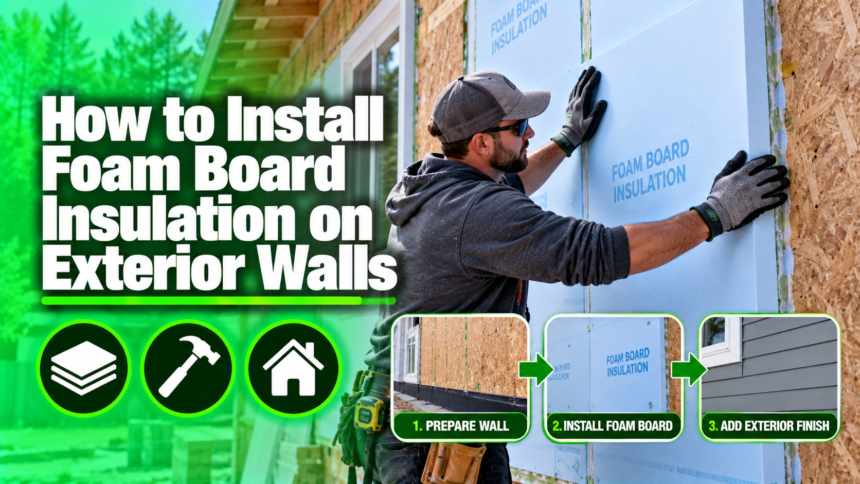
Learning how to install foam board insulation on exterior walls is one of the smartest ways to make a home more energy efficient without a huge budget. Foam board insulation sits directly on the outside of your wall sheathing, closing gaps that regular wall insulation often misses.
It reduces heat loss in winter, keeps rooms cooler in summer, and lowers monthly energy bills over time. The process involves preparing the wall, cutting and fixing the boards, sealing every seam, and finishing with siding. Anyone with basic tools and patience can complete this project in a weekend or two, and the sections below explain each stage in simple, practical steps.
Understanding Foam Board Insulation
Before picking up any tools, it helps to know what foam board insulation actually is and why it works so well on exterior walls. Once you understand the material, choosing the right type and thickness becomes much easier.
Types of Foam Board
There are three common types used on home exteriors: EPS, XPS, and polyiso. EPS is lightweight and budget-friendly but absorbs slightly more moisture than the others.
XPS is denser, more water-resistant, and holds up well in damp climates. Polyiso offers the highest R-value per inch, making it a strong choice where wall thickness is limited.
R-Value and Thickness
R-value measures how well a material resists heat flow, and thicker boards generally offer higher R-values.
Most exterior applications use boards between half an inch and two inches thick, depending on climate zone requirements. Choosing the correct thickness early avoids costly changes later during siding installation.
| Foam Type | Average R-Value per Inch | Moisture Resistance | Typical Use |
| EPS | R-3.6 to R-4.2 | Moderate | Budget projects, mild climates |
| XPS | R-5.0 | High | Damp or coastal areas |
| Polyiso | R-5.6 to R-6.5 | High (with facer) | Cold climates, limited space |
Planning Before Installation
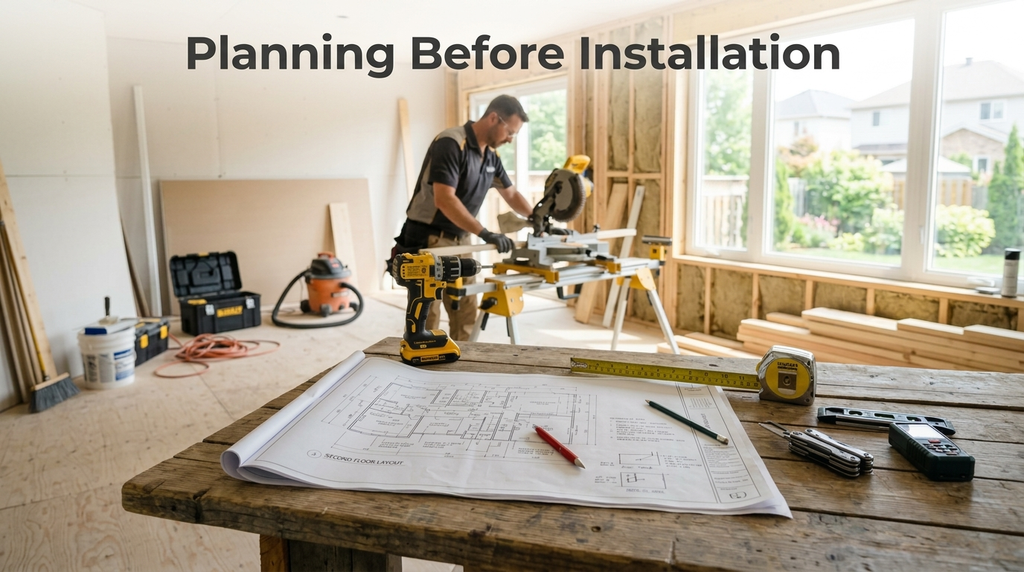
A little planning at the start saves a lot of rework later. Before cutting any boards, gather the right tools and confirm what your local building codes require for your specific climate.
Tools and Materials Needed
A successful installation calls for a utility knife, straightedge, tape measure, construction adhesive, corrosion-resistant fasteners, and seam tape.
You will also need house wrap, spray foam for gap filling, and furring strips if siding will be attached later. Having everything ready before starting keeps the project moving without interruptions.
Checking Codes and Climate Requirements
Building codes often specify minimum R-values and vapor barrier placement based on your region’s climate zone.
Some areas require a permit before adding exterior insulation, especially if siding is being removed and replaced. Checking with your local building department before starting prevents inspection problems down the line.
Preparing the Exterior Wall
Wall preparation directly affects how well the foam board performs once installed. Skipping this stage often leads to trapped moisture or an uneven insulation layer, so it deserves real attention.
Removing Old Siding and Cleaning
Start by removing any existing siding, trim, or damaged material down to the sheathing. Inspect the exposed surface for rot, mold, or loose boards, and repair or replace anything compromised before moving forward. A clean, dry, and structurally sound surface gives the foam board something solid to bond and fasten to.
Installing House Wrap
House wrap acts as a barrier against wind and water while still allowing the wall to breathe. Roll it out horizontally across the sheathing, overlapping each row by several inches, and staple it into place. Seal every seam with compatible tape so no gaps are left for air or moisture to sneak through.
Step-by-Step Installation Process
This is the core part of learning how to install foam board insulation on exterior walls, where measuring, cutting, and fastening all come together. Getting these steps right determines how airtight and effective the final wall assembly will be.
Measuring and Cutting Foam Boards
Measure each wall section carefully, including cutouts for windows, doors, and any exterior fixtures.
Use a straightedge and sharp utility knife to score and snap the foam cleanly along your marked lines. Cutting boards slightly oversized and trimming down afterward usually gives a tighter, more accurate fit.
Attaching Boards to Wood-Frame Walls
On wood-frame walls, apply construction adhesive in a zigzag pattern across the back of each board before pressing it firmly into place.
Follow up with cap fasteners driven into the studs to hold the board securely against wind pressure. Stagger the seams between rows the way bricklayers stagger joints, since this adds strength and reduces thermal bridging.
Attaching Boards to Masonry Walls
Masonry and concrete walls need masonry-rated adhesive along with concrete screws and washers for extra holding power.
Press each board firmly against the wall surface immediately after applying adhesive so it bonds evenly. Allow the recommended curing time before adding additional layers or fasteners on top.
Sealing Seams and Joints
Every seam between boards should be taped with a foil or acrylic tape rated for exterior use. Small gaps around edges or corners can be filled with low-expansion spray foam so they don’t compress or bow the boards. Proper sealing is what actually stops air leakage, so this step should never be rushed.
Flashing and Moisture Protection
Even a well-insulated wall can fail if water finds its way behind the foam board. Flashing directs water away from vulnerable areas and protects both the insulation and the structure underneath.
Flashing Around Windows and Doors
Install flashing tape around every window and door opening before or immediately after placing the foam board in that area.
The flashing should overlap the house wrap below it and tuck under the layer above, following a shingle-style pattern. This layering keeps water moving downward and outward instead of soaking into the wall assembly.
Preventing Water Intrusion
Check that all horizontal seams shed water downward rather than trapping it against the wall.
Any penetrations for pipes, vents, or wiring should be sealed individually with compatible tape or sealant. A few extra minutes spent here can prevent expensive moisture damage years down the road.
Finishing the Installation
Once the foam board is fully sealed and flashed, the wall is ready for its final layer. This stage turns the insulated wall into a finished exterior that’s ready for weather and daily wear.
Adding Furring Strips
Furring strips are vertical wood or metal strips screwed through the foam board and into the wall studs beneath.
They create a stable, flat surface for attaching siding while also forming a small drainage gap behind the cladding. Spacing them correctly, usually sixteen or twenty-four inches apart, ensures the siding above has proper support.
Installing Siding Over Foam Board
Siding options like vinyl, fiber cement, wood, or stucco can all be installed over the furring strips or directly over thicker rigid foam, depending on the manufacturer’s instructions.
Fasteners should always reach through to solid framing rather than just gripping the foam itself. Following the specific siding manufacturer’s guidelines at this stage prevents warping or loosening over time.
Common Mistakes to Avoid
Even experienced DIYers run into a few recurring problems when insulating exterior walls. Knowing these mistakes ahead of time makes it much easier to avoid them.
Skipping Vapor Barrier Checks
Installing foam board without checking whether your climate zone requires a vapor barrier can trap moisture inside the wall.
This trapped moisture often leads to mold growth or wood rot that’s expensive to fix later. Always confirm vapor barrier placement rules for your specific region before finishing the wall.
Using Wrong Fasteners
Standard screws or nails that aren’t rated for exterior use can corrode and lose their grip within a few years.
Using cap fasteners or corrosion-resistant screws designed for foam board keeps the insulation securely attached long term. The wrong fastener choice is one of the most common reasons foam board installations fail early.
FAQs
Can I install foam board insulation myself?
Yes, most homeowners with basic tools and some patience can complete this project without hiring a contractor.
Do I need a vapor barrier?
It depends on your climate zone and wall assembly, so check local building codes before starting.
How long does foam board insulation last?
When installed correctly and protected from moisture, foam board insulation typically lasts several decades.
Can foam board be installed over existing siding?
In some cases yes, but removing old siding first usually gives a cleaner, more airtight result.
Conclusion
Knowing how to install foam board insulation on exterior walls comes down to careful preparation, accurate cutting, thorough sealing, and proper flashing before the final siding goes on.
Each stage builds on the one before it, so taking time with wall prep and seam sealing pays off in long-term energy savings and a healthier wall assembly. With the right materials and a bit of patience, this is a project most homeowners can tackle successfully over a weekend.
Related Articles
Why Does My Ceiling Fan Click? Causes & Fixes
Why Does My Basement Smell Musty? Causes, Fixes & Prevention Guide
Can You Paint Roof Shingles? Pros, Cons, and Best Practices
What Are Casement Windows: Complete Guide 2026
How to Store Furniture in a Storage Unit: Complete Guide 2026